SketchUp modeling
A guide how to create a model in SketchUp tool.
1. Table
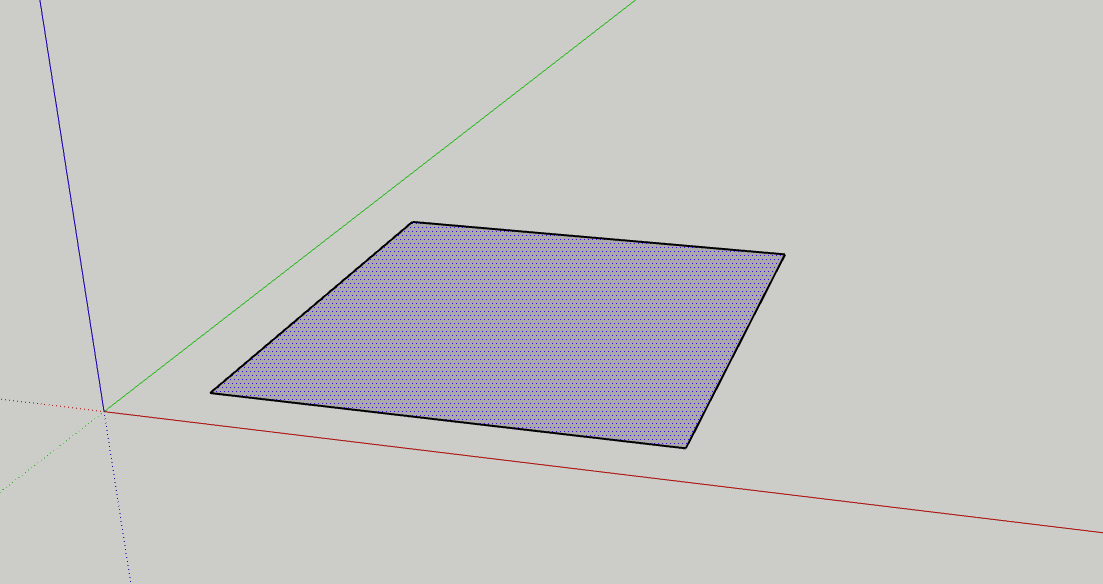
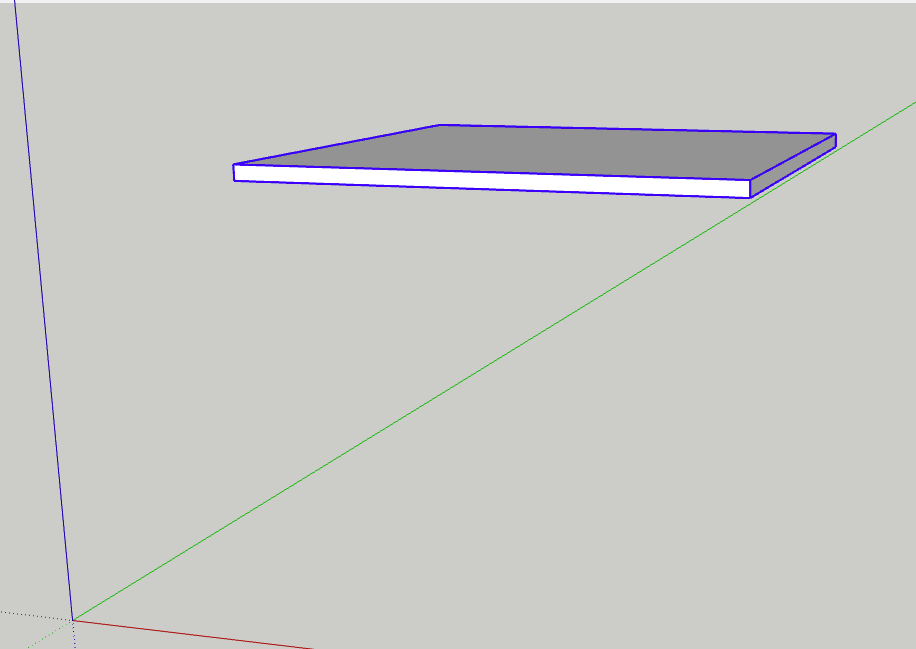
We will open a new project with dimensions in millimeters. Then, we'll press the R key or select the Rectangle tool with the mouse.. 
On the surface, we will draw a square. We can use any size, but we can also input it manually, for example, 6000 mm by 6000 mm. This dimension is visible in the bottom right corner and can be adjusted anytime, as long as we don't start drawing another object or switch tools. If we're not satisfied with the size later on, we can adjust it using the Scale tool.. 
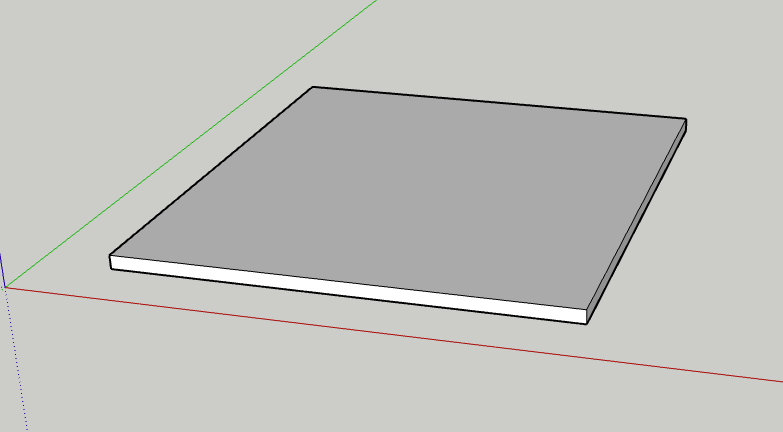
Next, we'll use the Pull/Push (P) tool to extrude the tabletop upwards. 
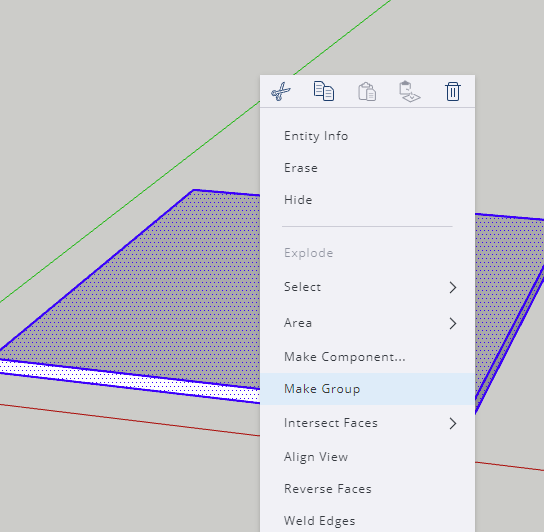
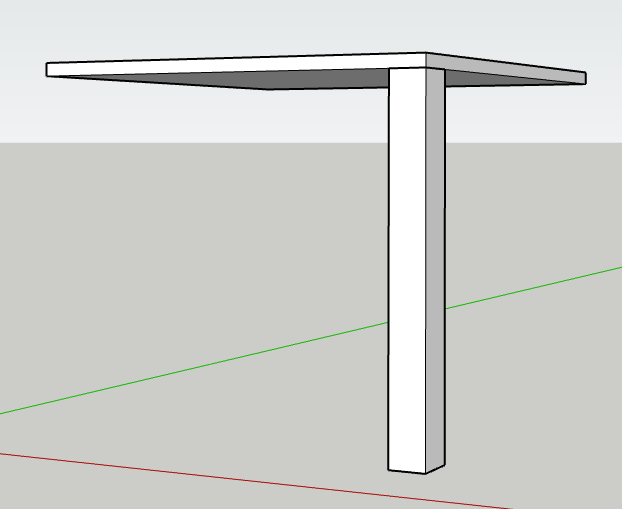
Each wall is currently considered an individual object, so we need to group them. We'll click on our object three times, then right-click and select the "Make Group" option.
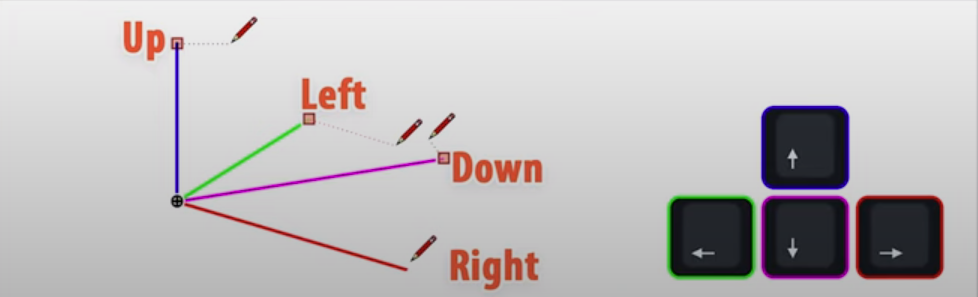
We'll then lift our surface upwards using the M key or by selecting the Move tool. We cam use the arrow keys for more precise movement along the axis.
Now we can start modeling the legs of the table. We'll adjust our view to look at the table from the bottom. We'll once again select the Rectangle tool (R) and draw a smaller square at one of the table's corners.

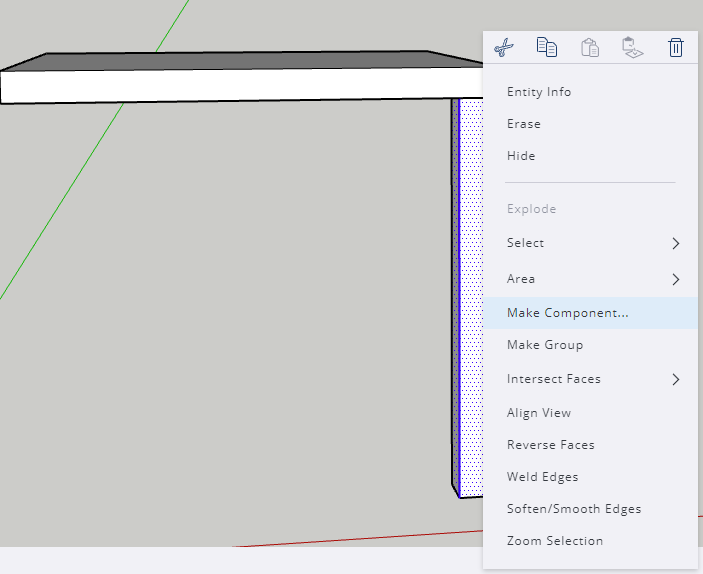
To avoid creating each leg separately, we'll turn this leg into a component. We'll click on the leg three times, right-click, and choose the "Make Component" option.
We'll name it as needed and press OK. For copying, we'll use the Move tool (M). We'll choose a reference point on the leg, press CTRL, and drag it to another corner of the table. Finally, we'll group the entire table into one object.
