Blender - modeling - step by step - advanced
In this chapter we will look at more advanced modeling.
1. Simple character
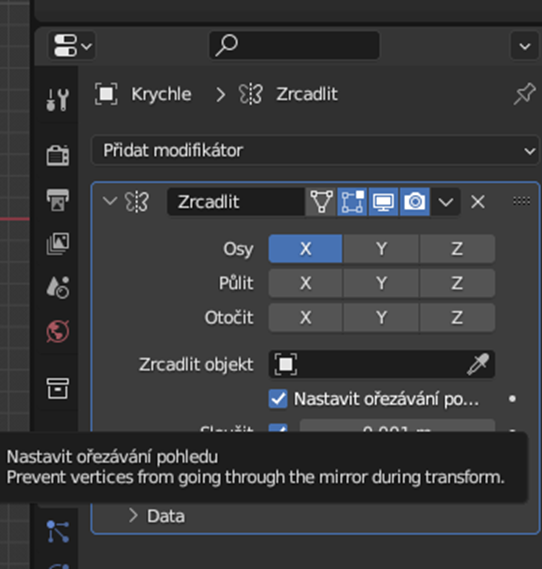
If we move the object now, for example along the X-axis, we'll see that its mirrored copy also moves.
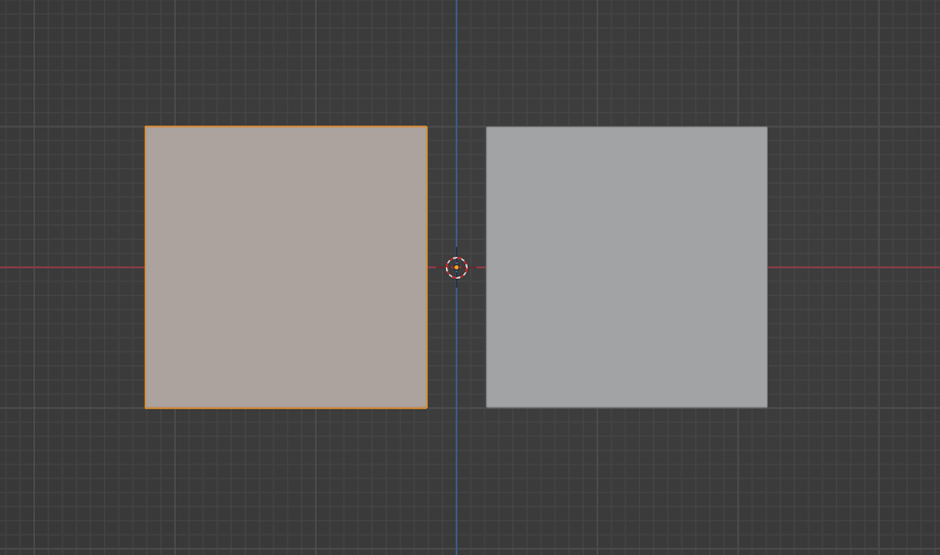
Another useful function when using the mirror modifier is clipping, which will always merge objects in the center.
Without clipping vs. with clipping:
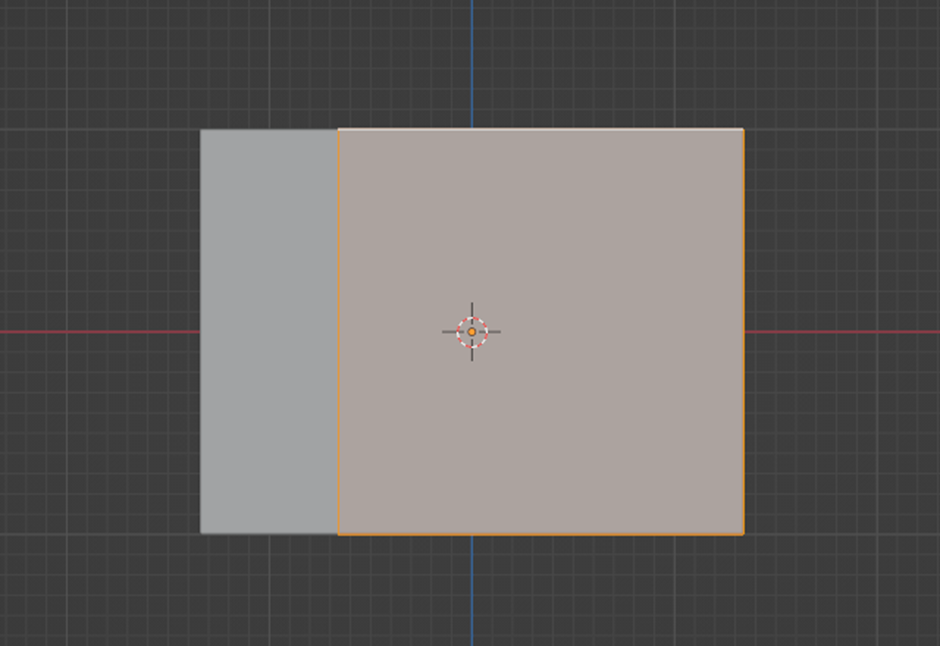
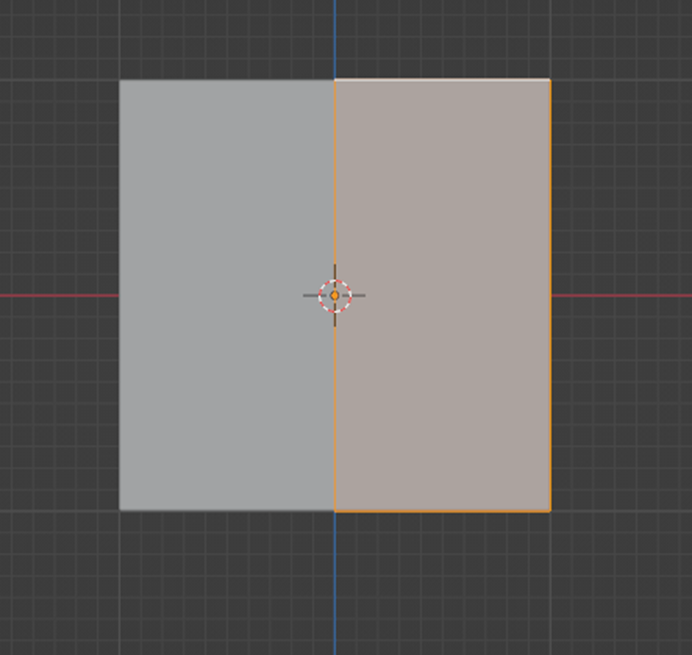
Clipping also maintains a fixed center, allowing us to stretch the object without it "tearing". Another useful function is switching to "Wireframe" view. This will allow us to work with a transparent object. To activate Wireframe view, hold the "Z" key.
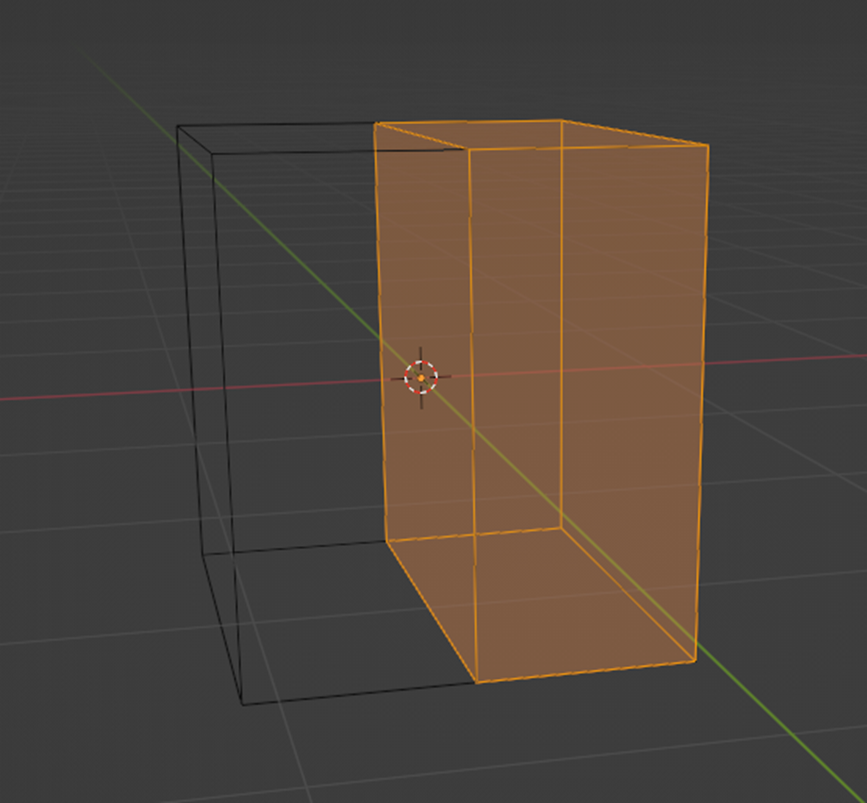
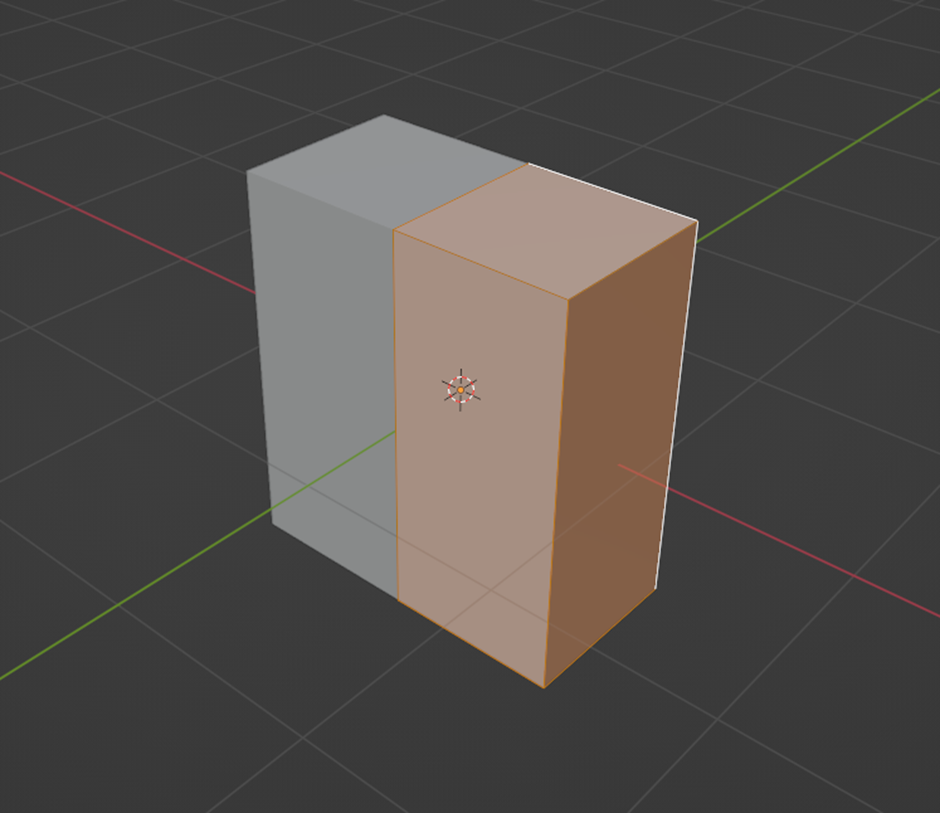
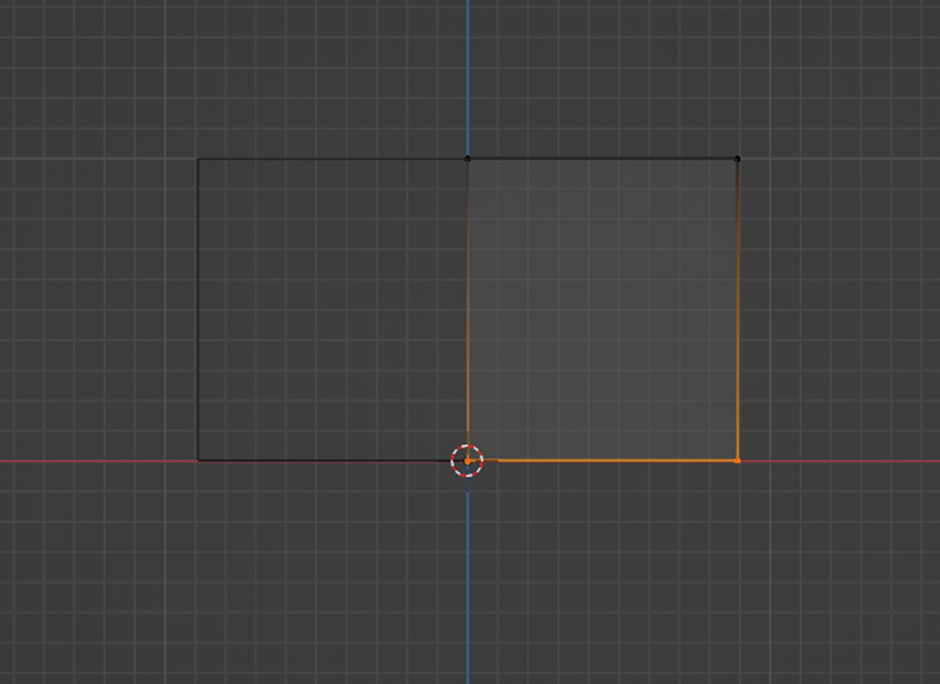
One thing to notice is that our object still has a wall in the center that we don't need. We can delete this wall by selecting the side, pressing the "X" key, and choosing the option to delete the face. Then we can switch to full view and narrow down the object.
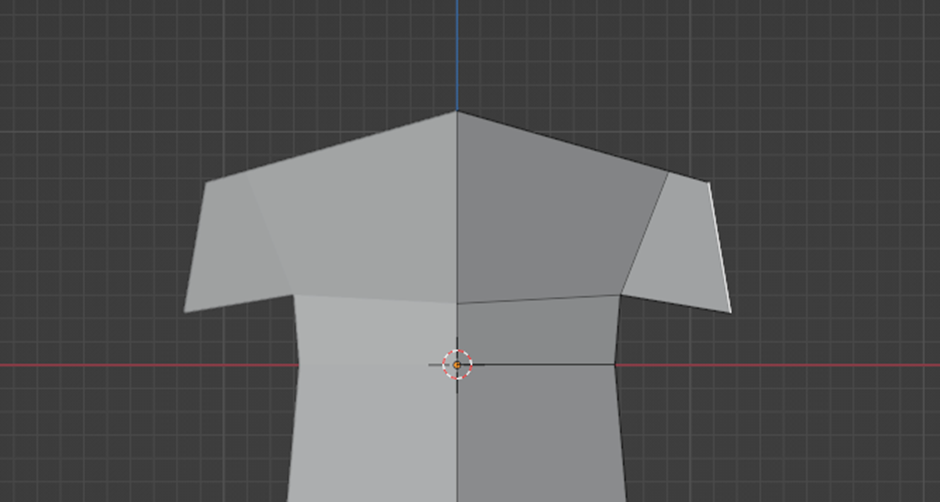
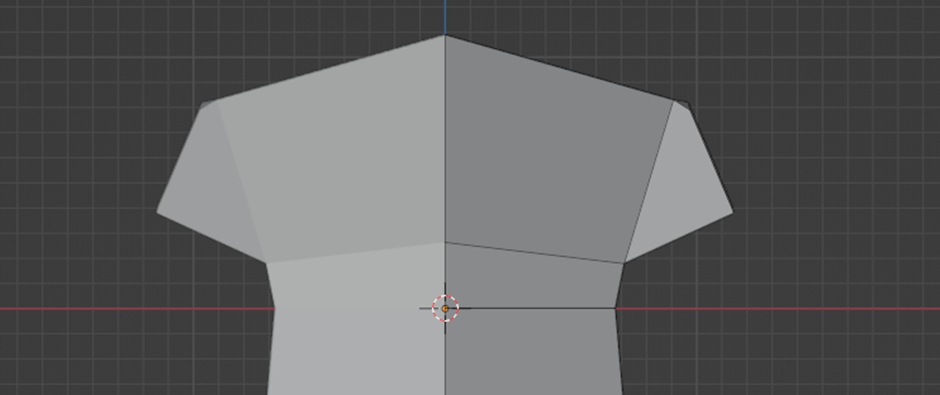
We'll slightly extend the center and choose the middle edge to pull it forward.

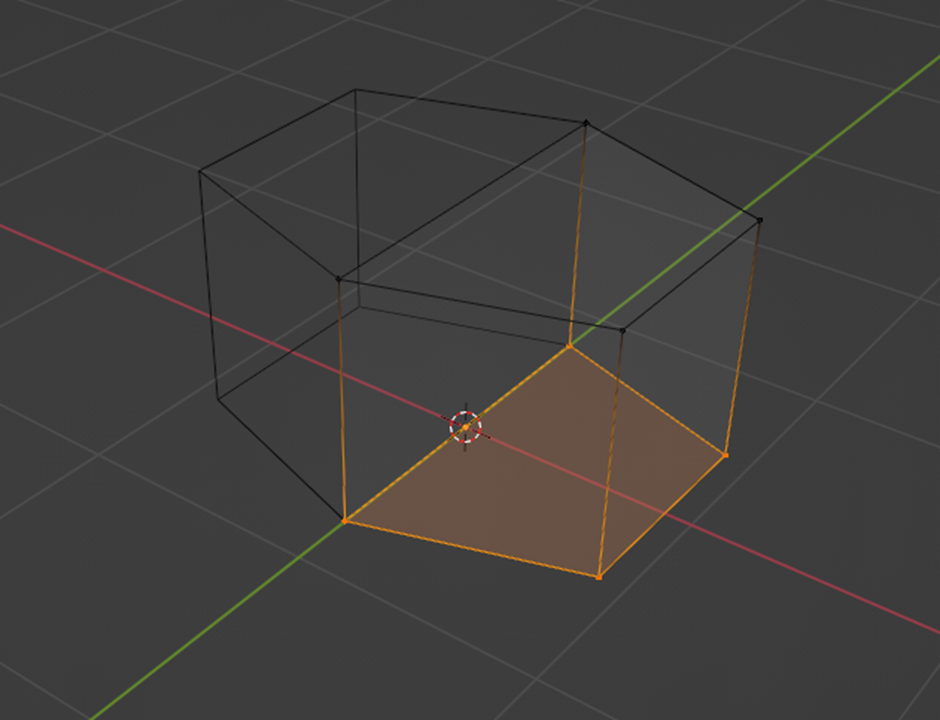
We'll also adjust the bottom side and pull it towards the Y/Z axis.
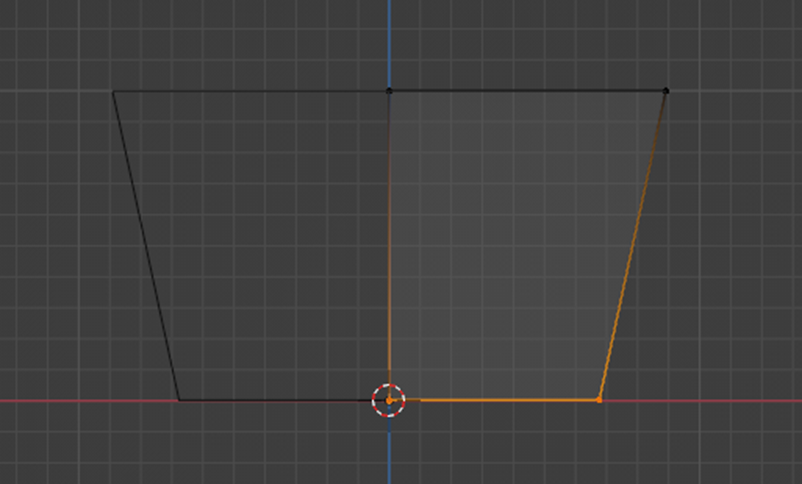
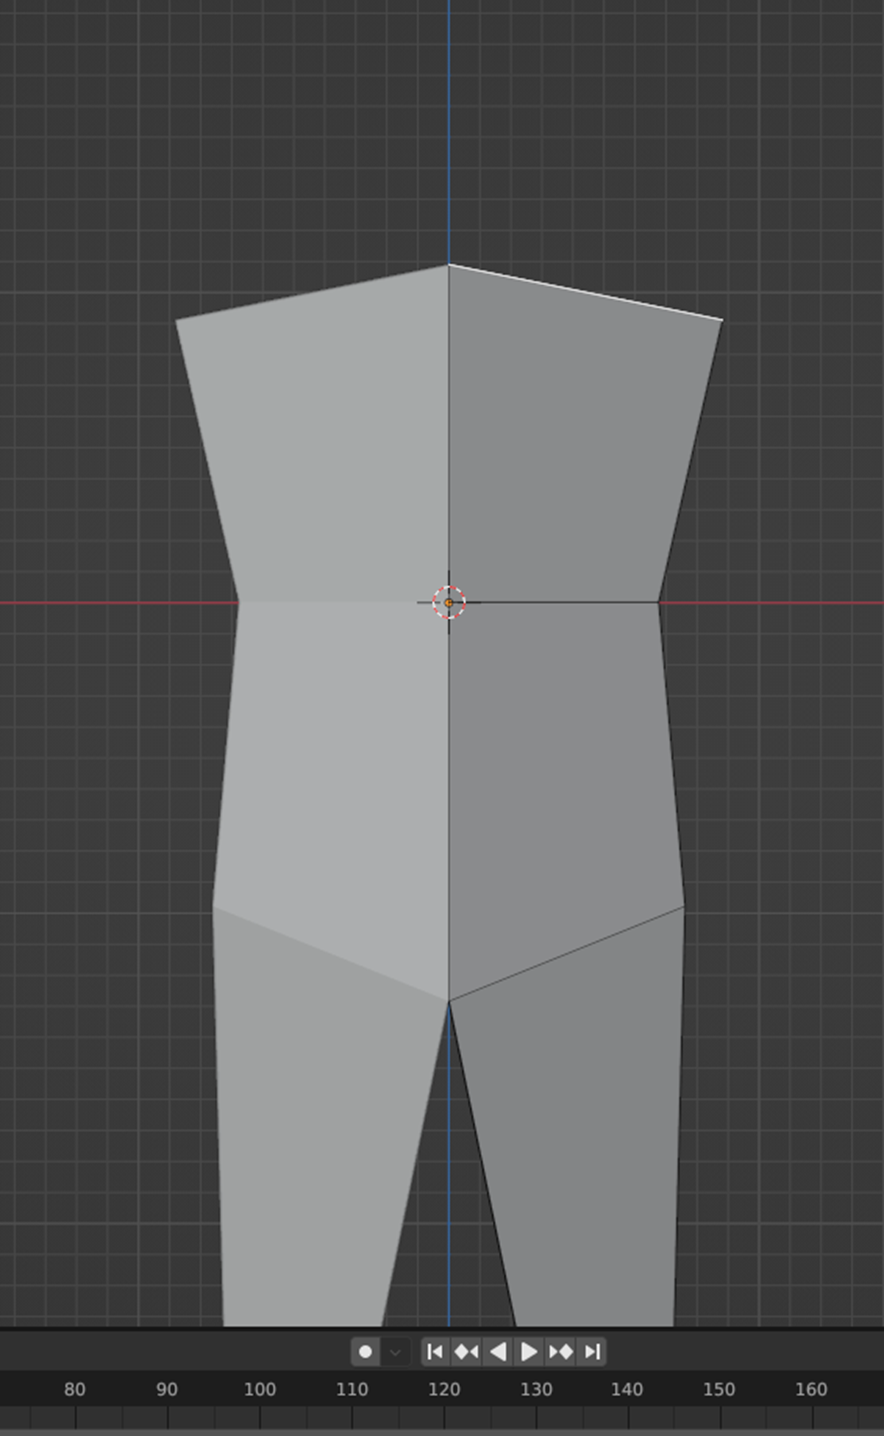
Now we'll use edge extrusion. Press the "E" key and pull the new edges downwards.
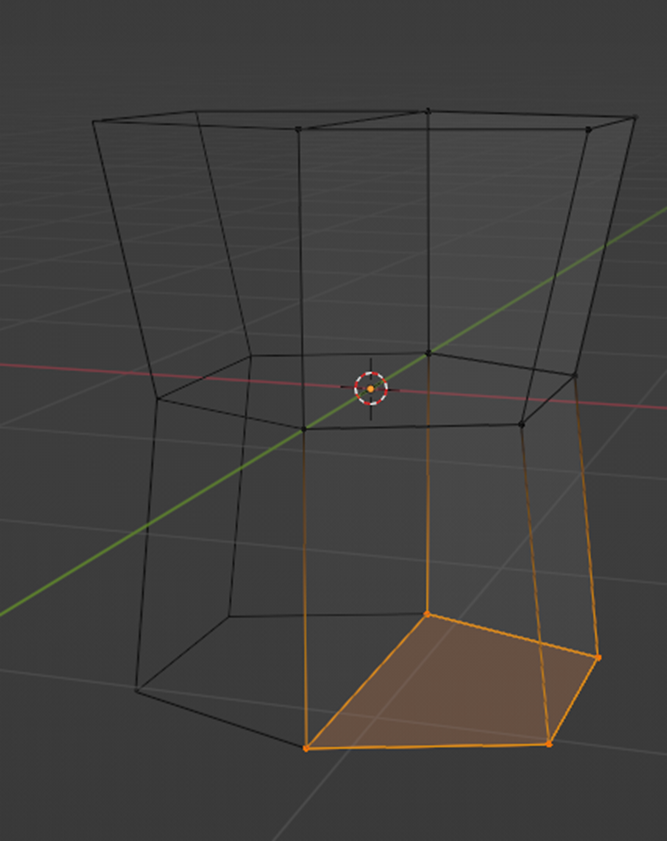
This way, we've created the torso. Before we start modeling the legs, we need to slightly rotate the sides towards the Y/Z axis (according to the view we're working with).
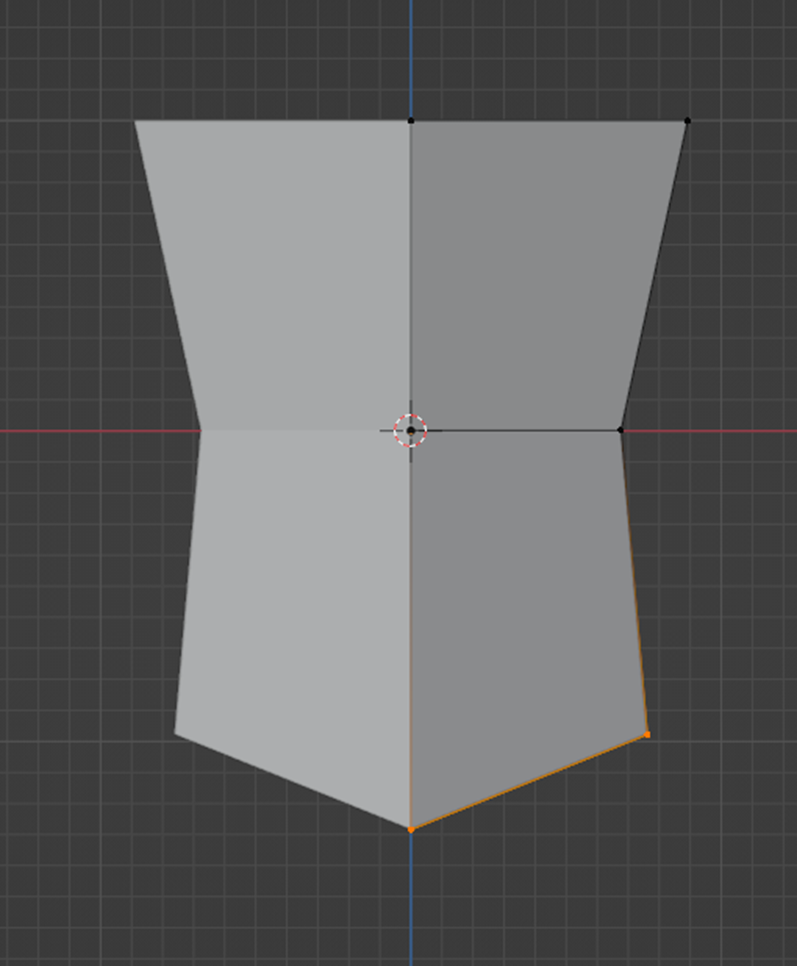
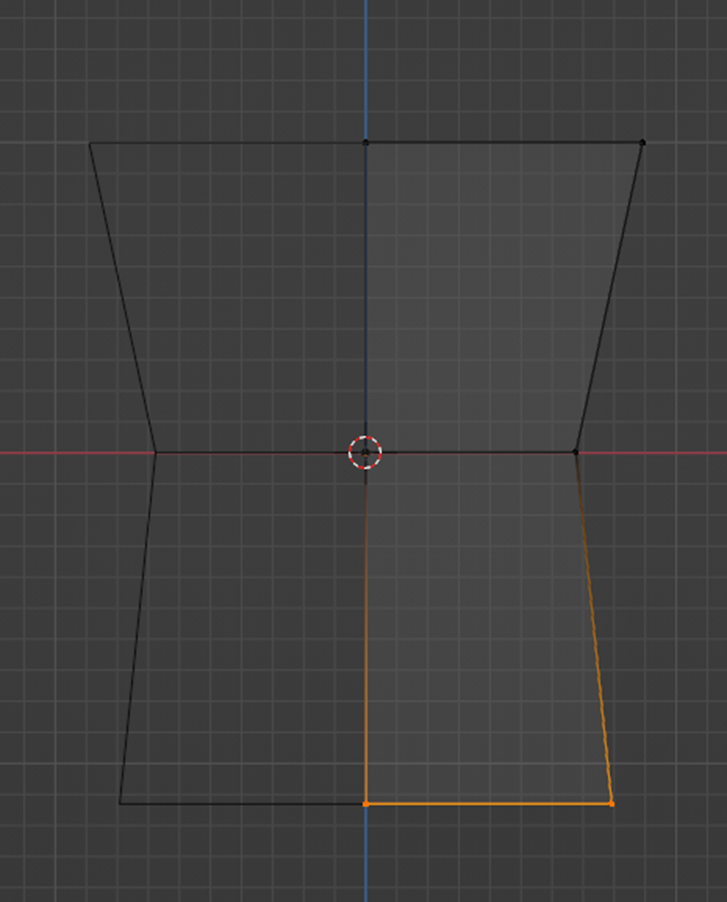
If we were to extend downwards now, our legs would be connected, so we need to turn off clipping. Then we can pull the legs downward, shrink the bottom face, and adjust the legs slightly if necessary.
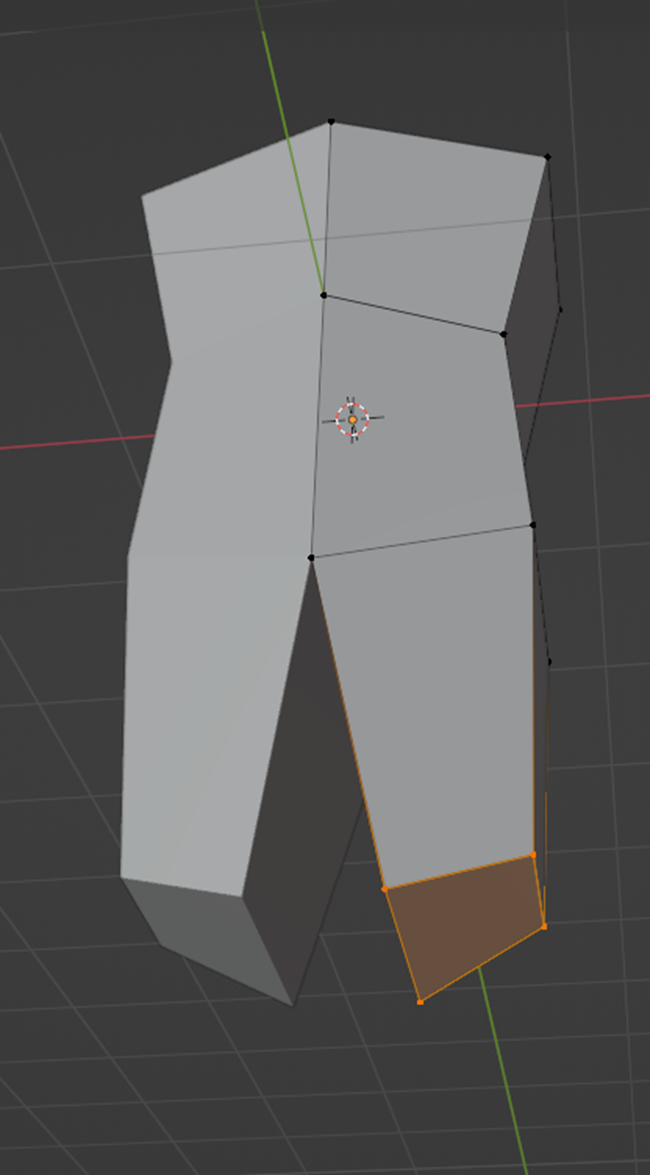
We'll align the bottom face flat so that it's evenly aligned with the X-axis. We can re-enable clipping and then pull downwards again. After that, we'll shrink the bottom face once more.
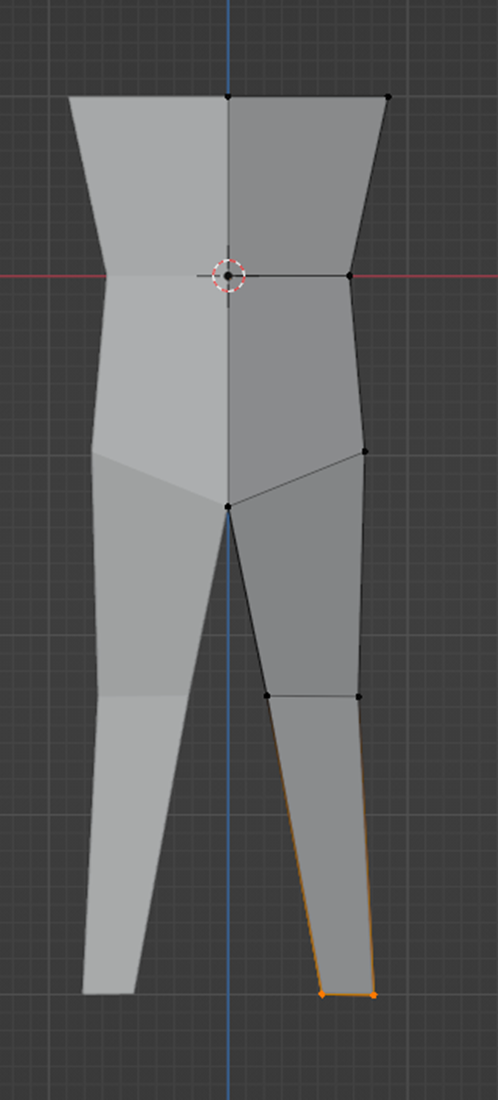
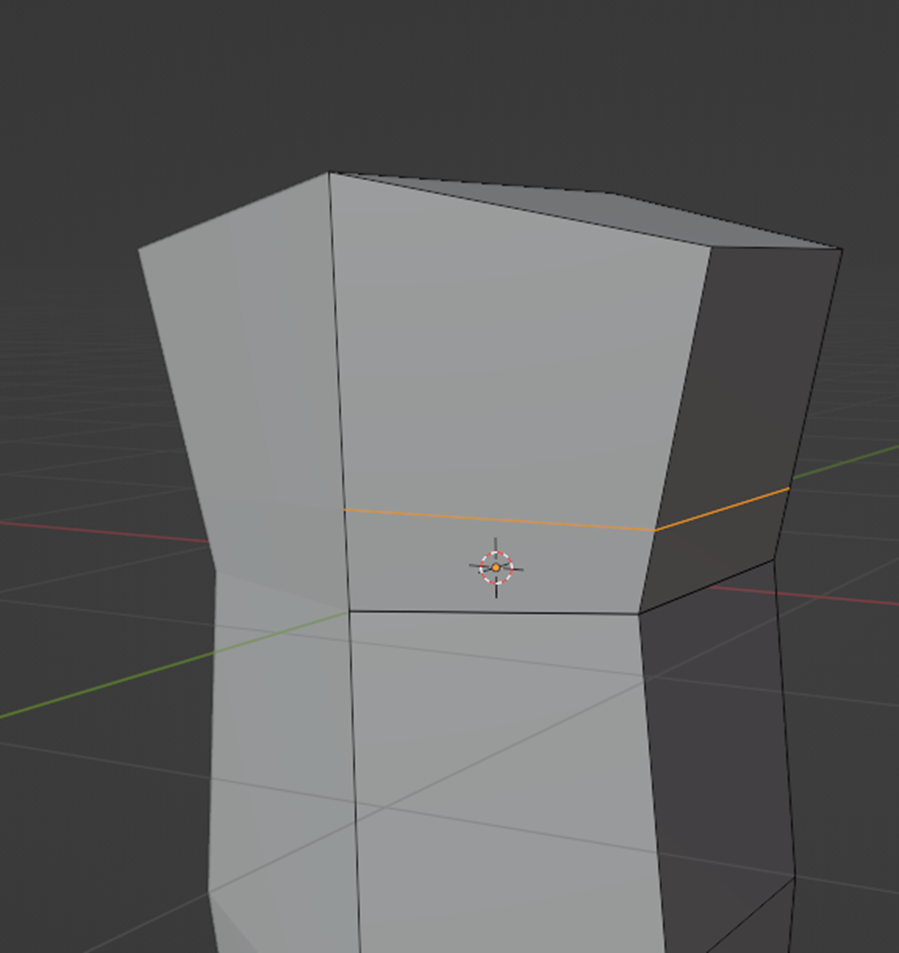
Now we need to add a new loop cut. (Ctrl+R or in the left corner). By scrolling the mouse wheel, we can add/remove loop cuts. We'll place the new loop cut in the lower third of the torso. If we've placed it incorrectly, pressing "G" twice will allow us to move it.
We'll select the "square" face on the side of the torso and slightly shrink it.
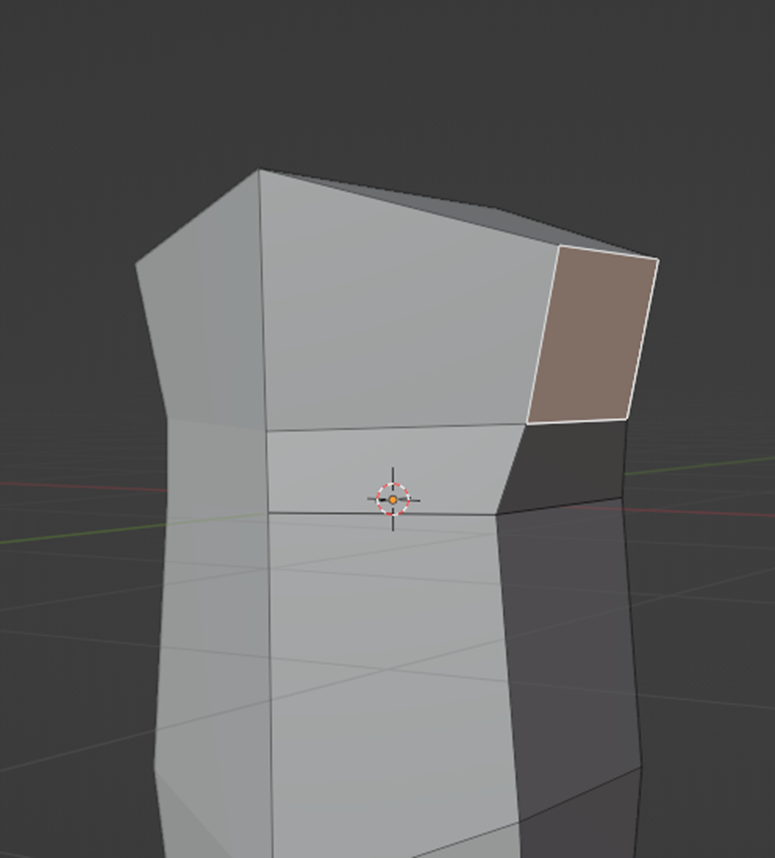
Then we'll rotate it a bit to prepare for modeling the arm in a natural position. Afterward, we'll slightly extend the face.
We'll then rotate the face upwards.
We'll choose the bottom face, also rotating it upwards.
As needed, we'll straighten the face, then extend it.

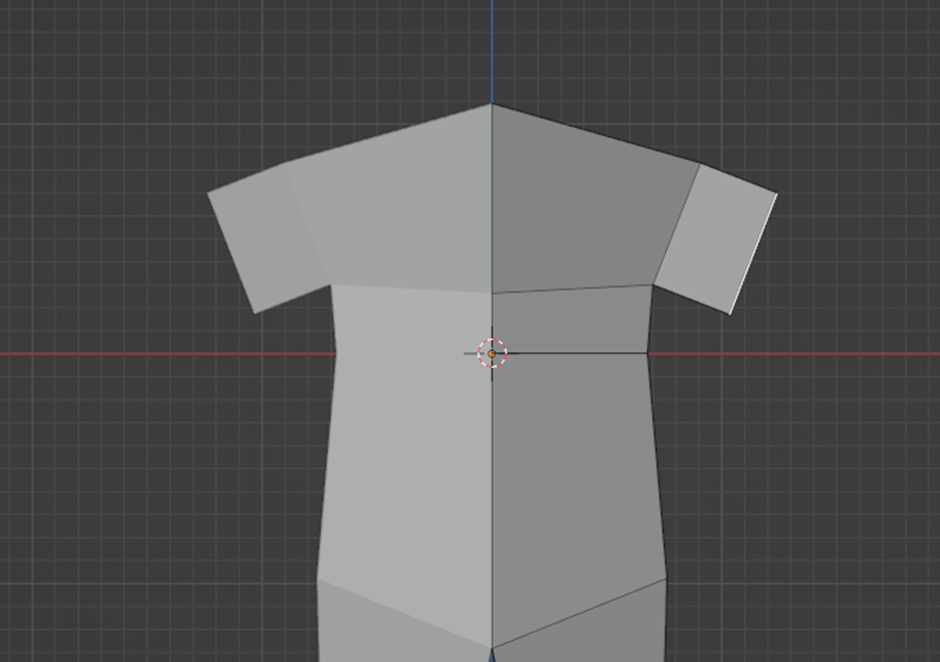
We'll make slight adjustments to the arms – shrinking the bottom face, rotating it, and moving it closer to the body.

We'll extend a bit more and shrink along the X-axis.
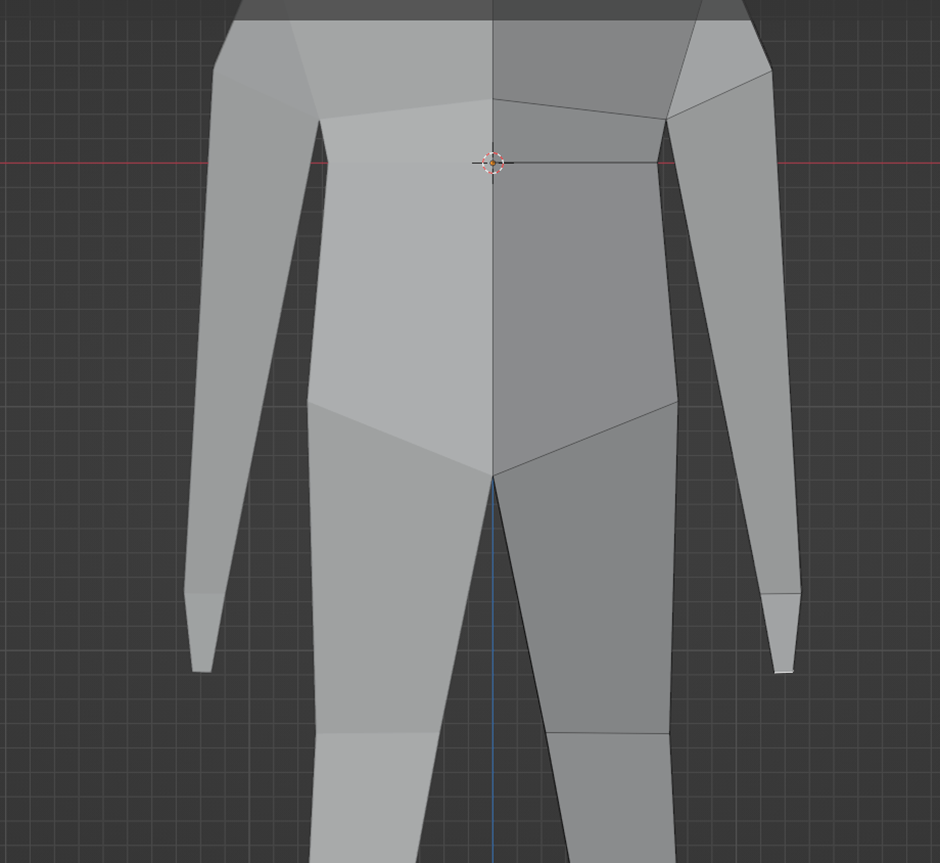
The final detail for the arms is the elbow. We'll cut the longest part of the arm approximately in the middle and move it slightly for a more natural angle.
The final detail for the arms is the elbow. We'll cut the longest part of the arm approximately in the middle and move it slightly for a more natural angle.
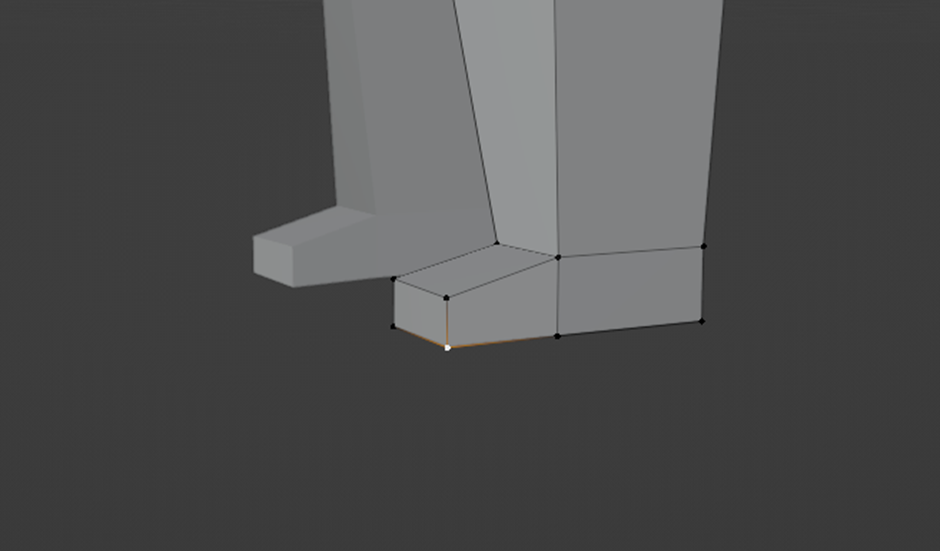
We can adjust the proportions as needed. When satisfied, we'll move on to modeling the feet. We'll choose the bottom face of the leg and extend it downwards
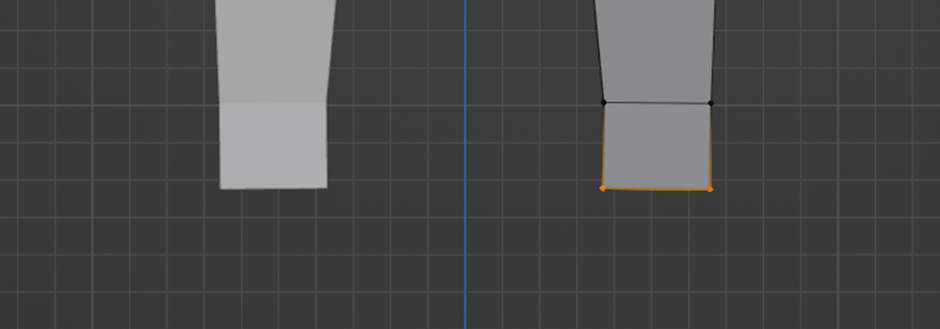
Then we'll select the front face and pull it forward along the Y-axis.
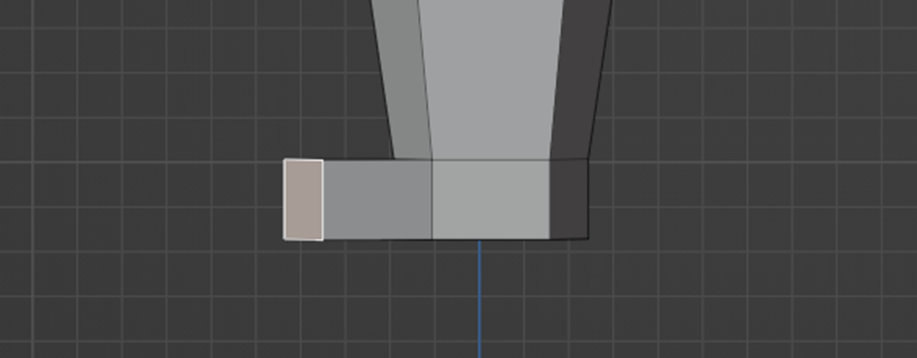
Clicking on the top edge of the foot, we'll move it downward.
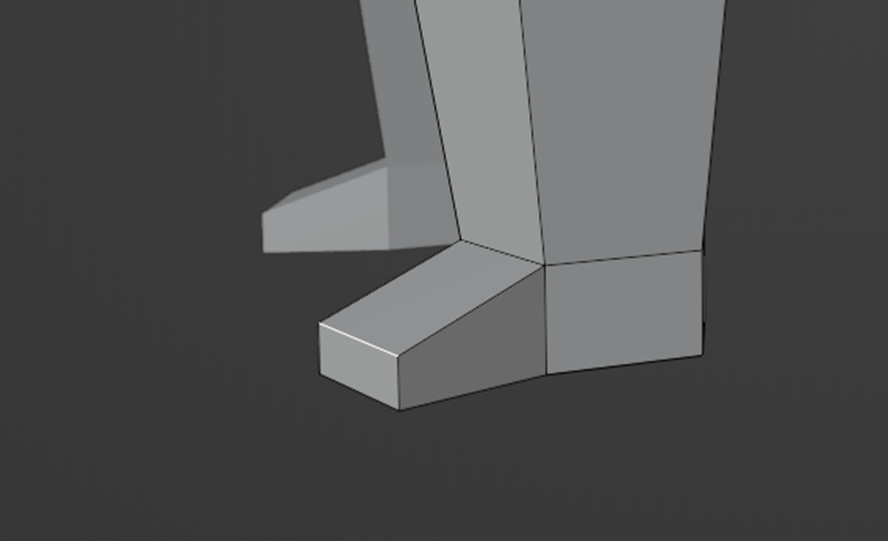
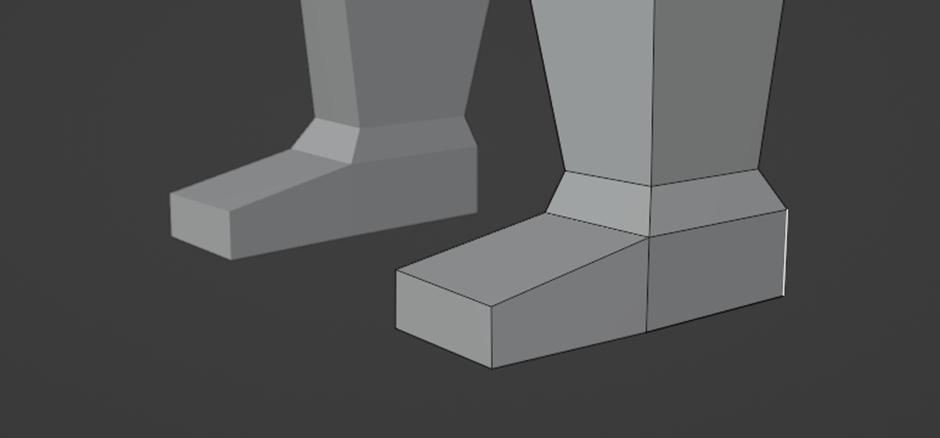
For adjustments, we'll choose the front side of the foot and change to a bottom view (Ctrl+7). We'll align the foot and slightly enlarge it.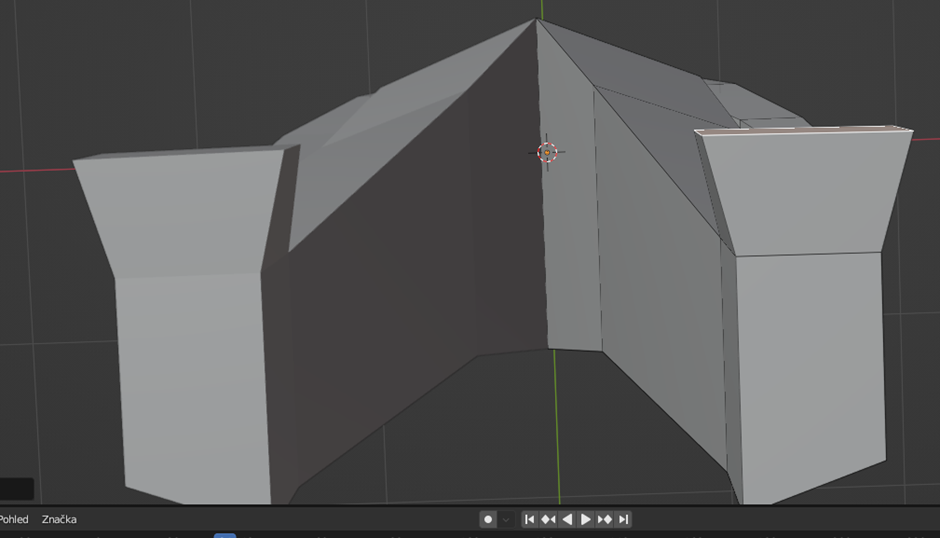
We'll then make adjustments to all points/edges as needed for a more natural appearance.
We'll cut the ankle on the leg, then move the cut downwards and shrink to create ankles.
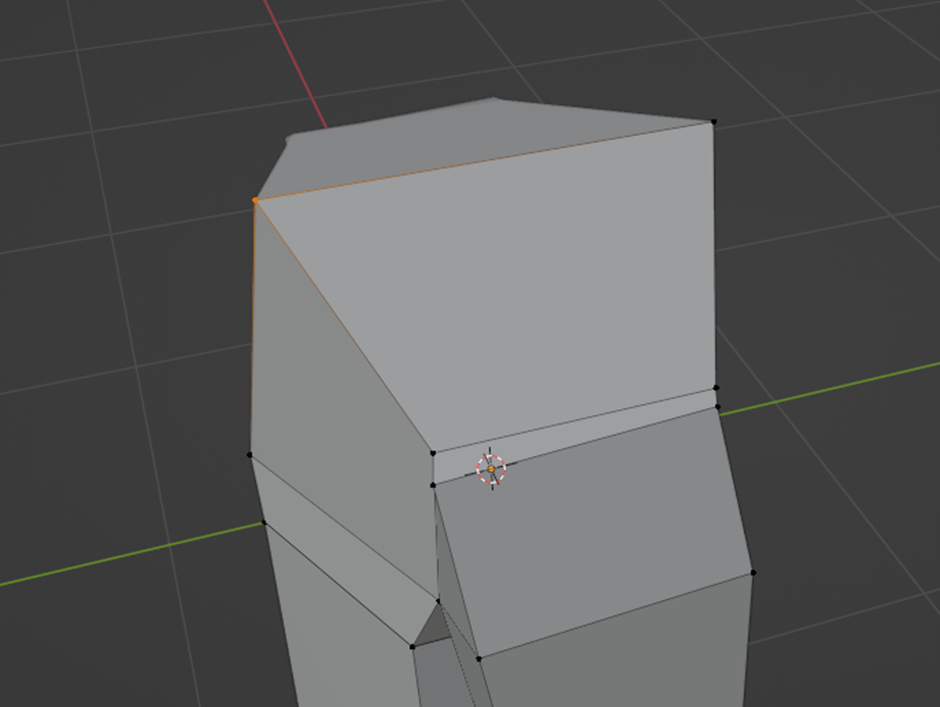
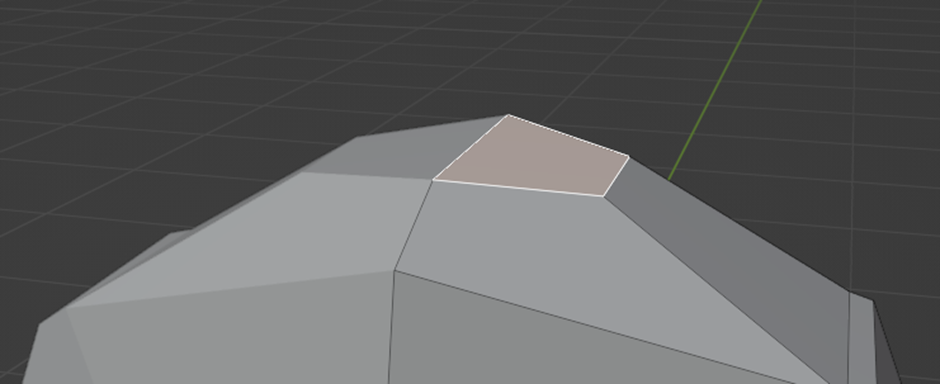
Once satisfied with the foot proportions, we can move on to modeling the head. First, we'll choose the top front point and move it slightly backward (press "G" twice).
Next, we'll choose the face, extend it, and immediately shrink it.
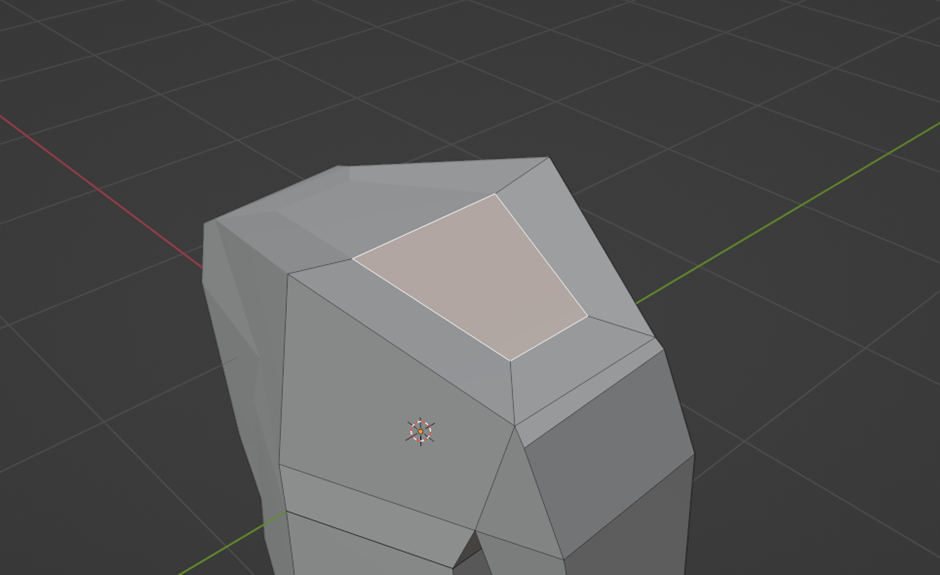
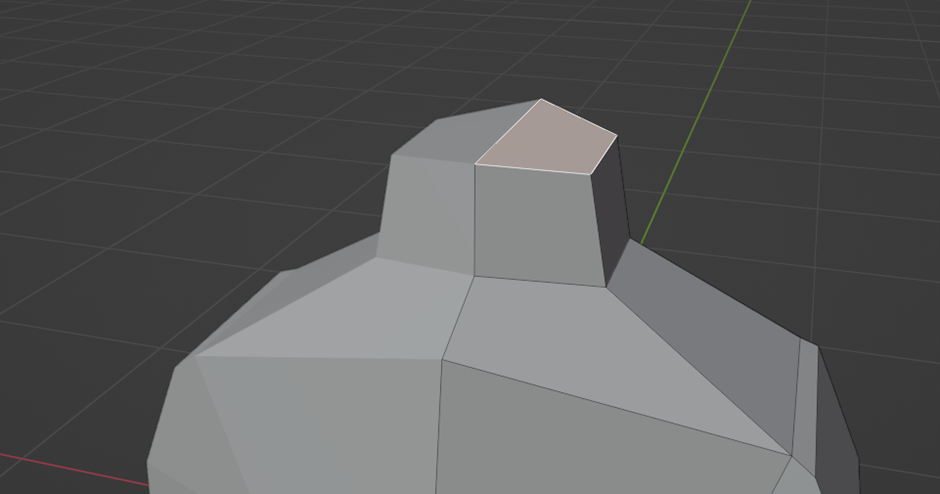
Then we'll move the face more towards the center along the X-axis. Finally, we'll lift the entire face and align it.
When satisfied, we can elevate the face a bit and slightly shrink it along the X-axis.
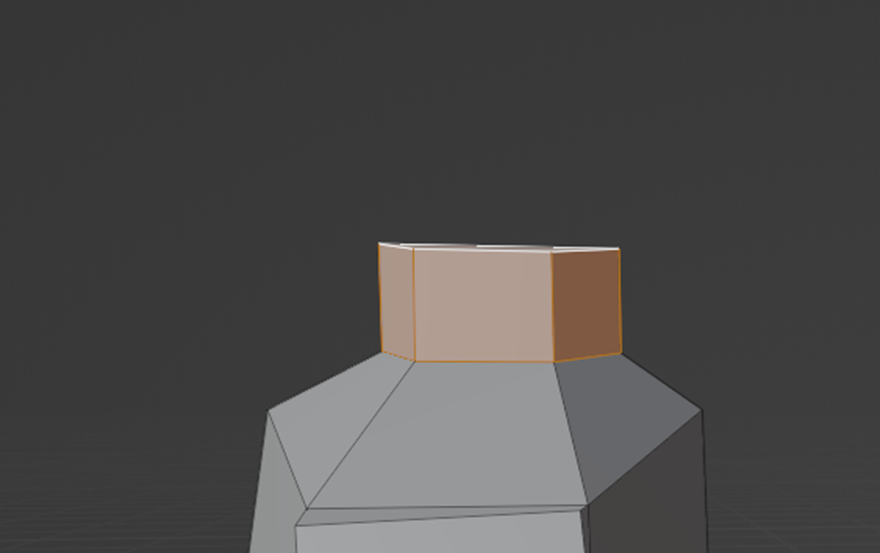
For adjustments, we'll select the entire neck face (Ctrl+A) and pull it slightly backward or according to preference.
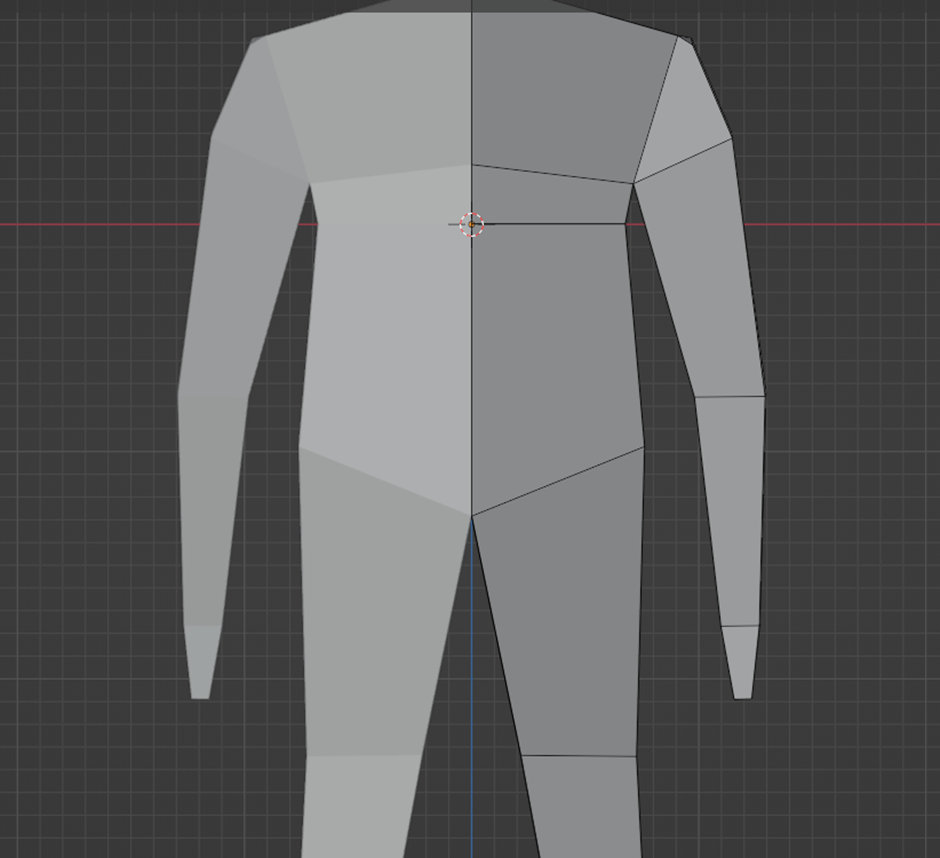
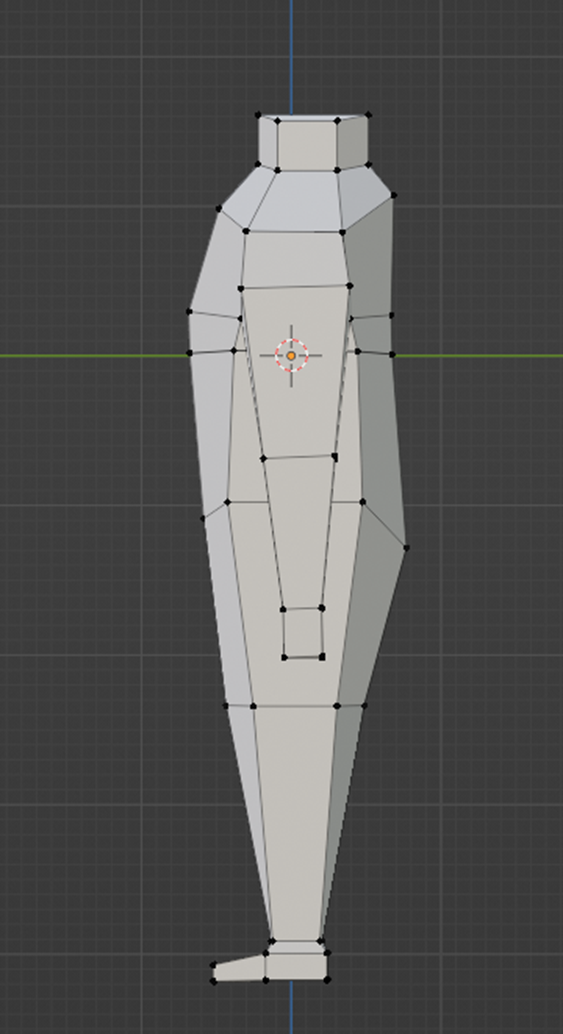
Now let's adjust the torso to make it more natural. We'll select individual points and move them to soften the sharpness of the torso. The same can be done for points on the back or other protruding points.
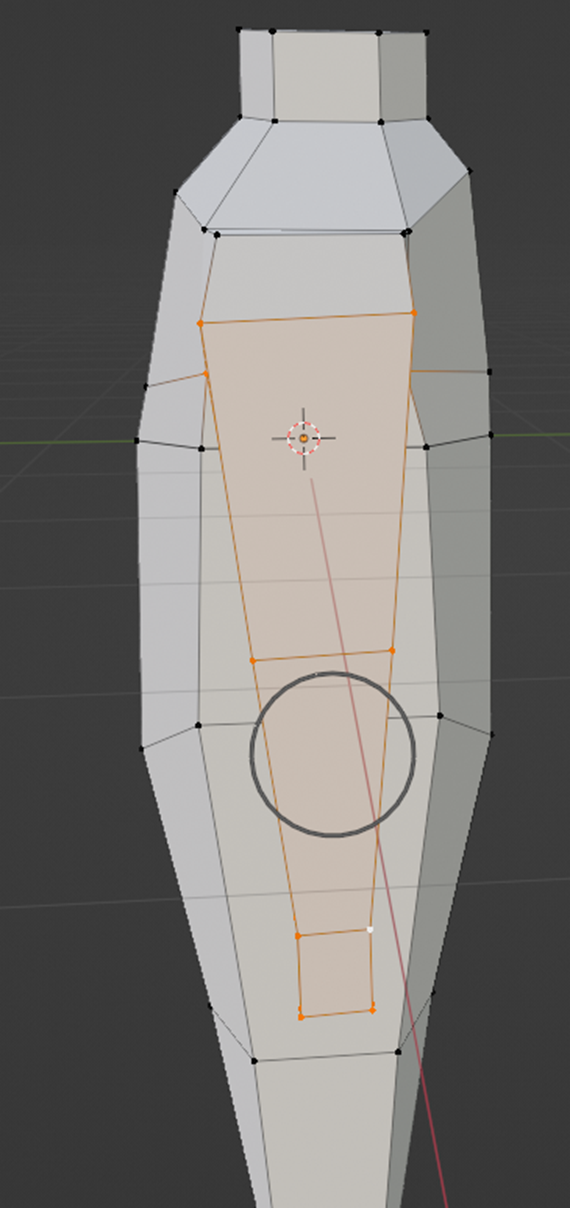
A better way is to select the wrist (Alt+click on the edge) and use the wrist to select the entire arm (Ctrl+click). However, make sure ONLY the arm is selected. Then click on "Proportional Editing".
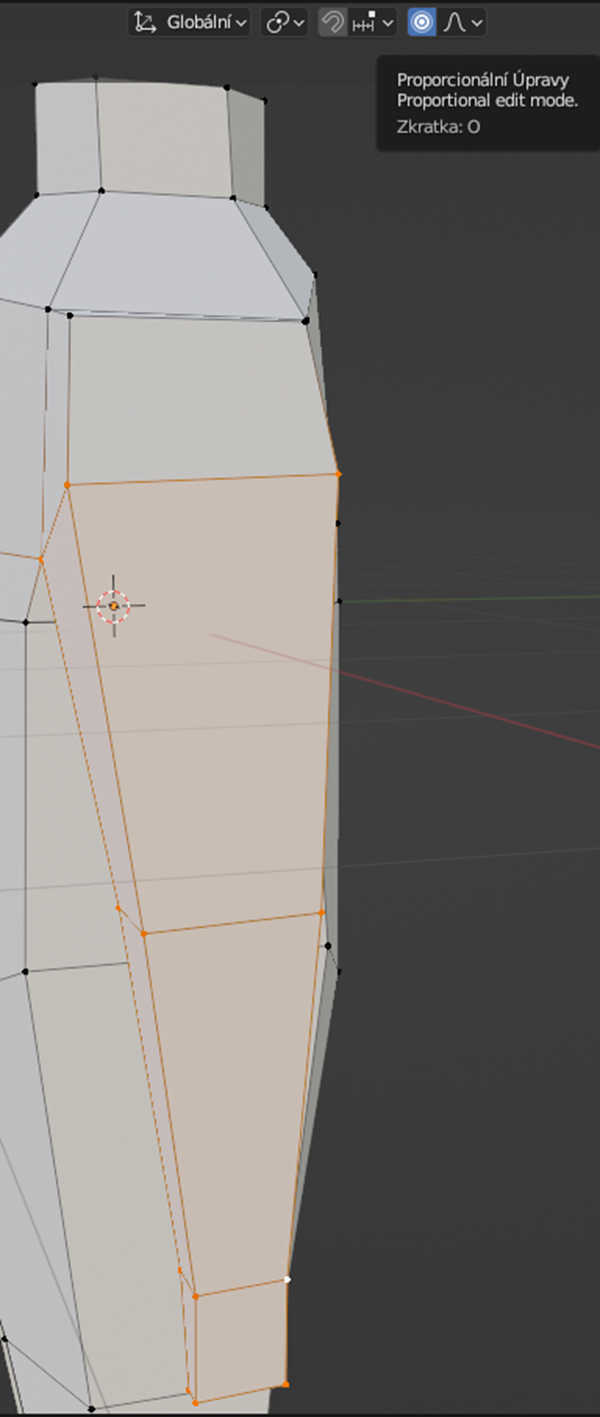
Now we can move the entire selected area and adjust it as needed (key "G"). We must use the mouse wheel to adjust the size of the circle indicator; otherwise, the character will tilt.
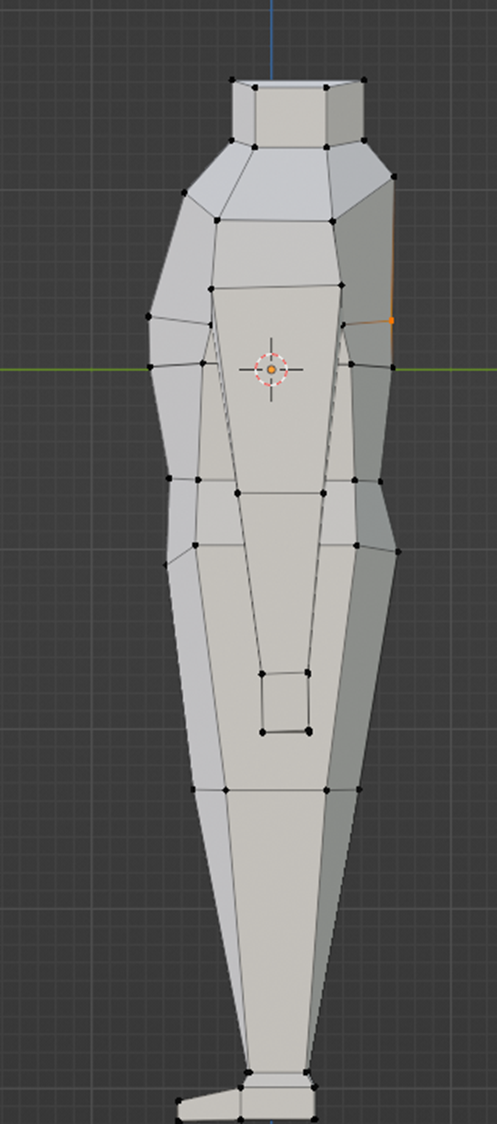
This way, we can adjust other body sections as well.
We can add another loop cut on the waist and adjust it as needed.
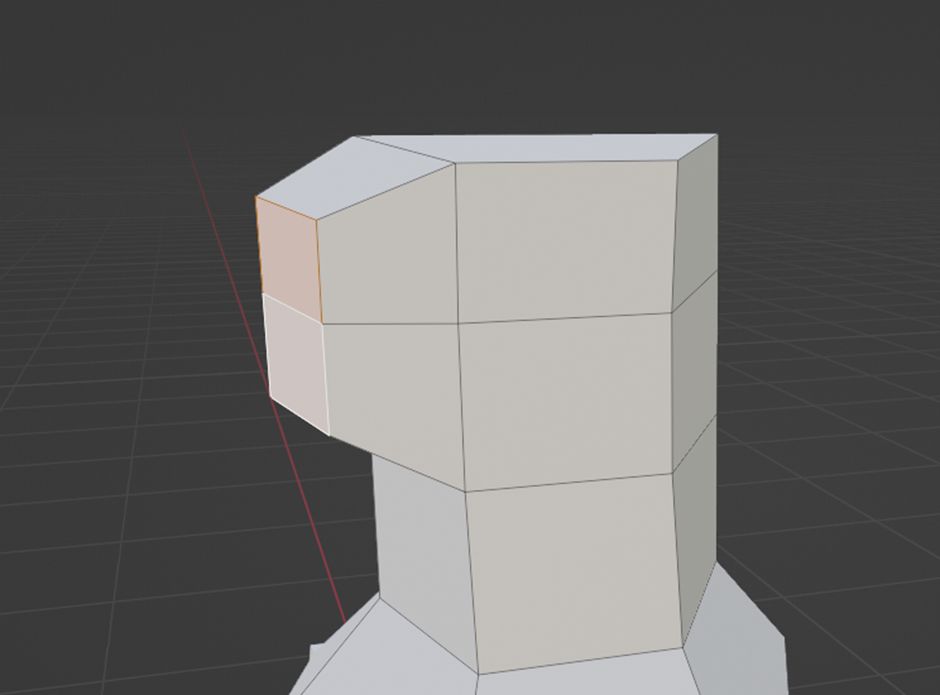
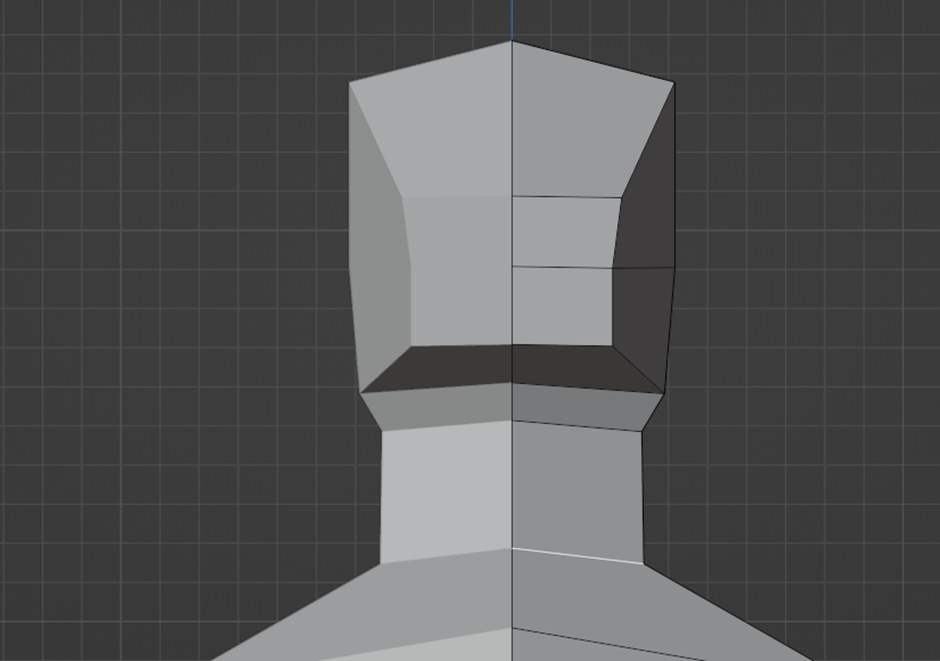
But let's return to modeling the head. We'll choose the top face of the neck, elevate it twice, and then select the front two faces and elevate them forward.
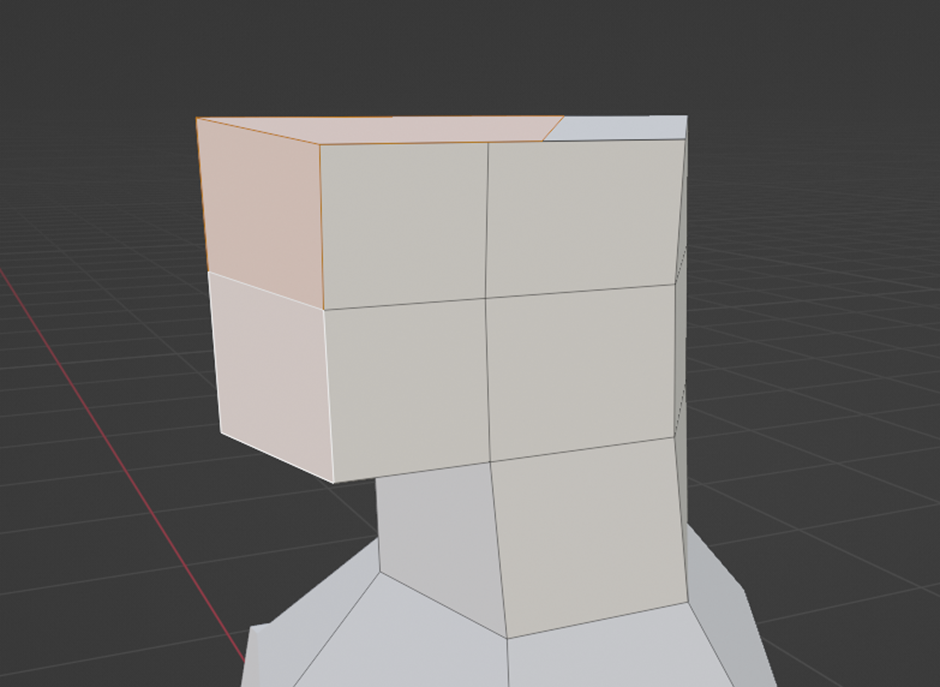
Finally, we'll slightly shrink these faces.
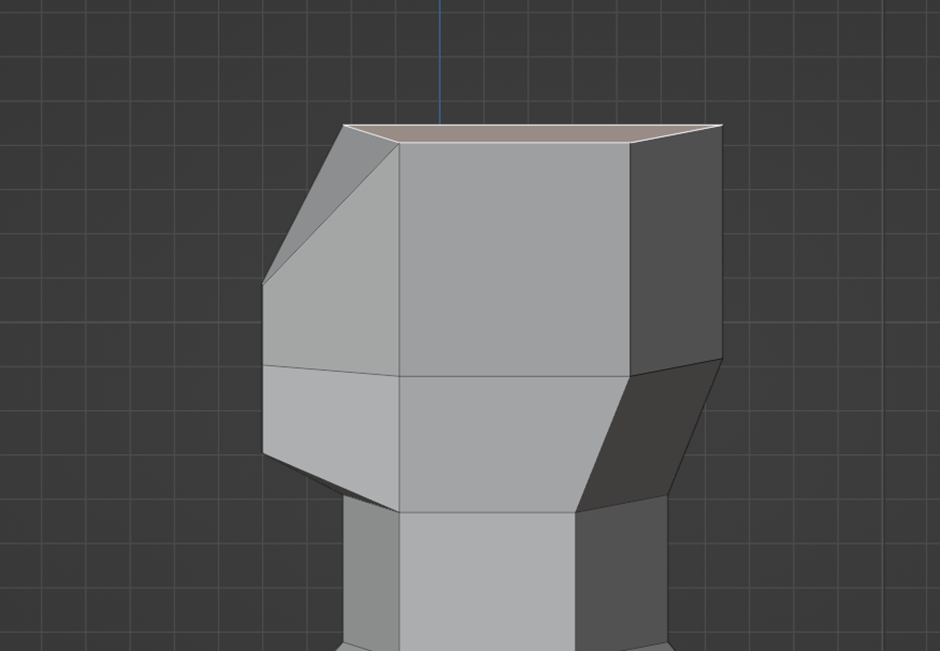
When satisfied with the front part, we'll choose the top back face and pull it backward.
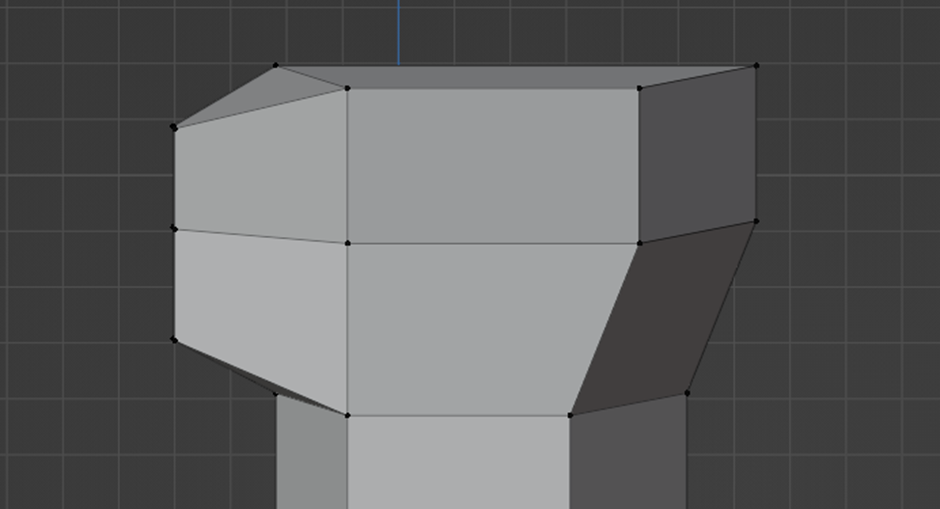
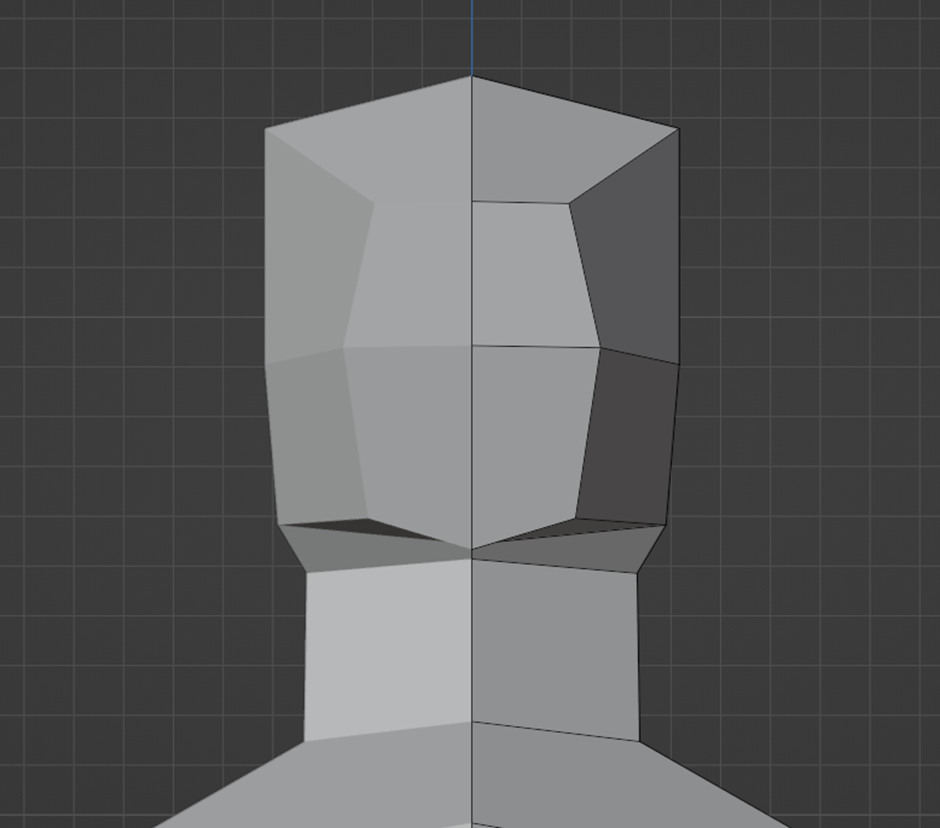
We'll elevate the top of the head further upwards.
We'll then adjust the head from the front view by rotating it downwards.
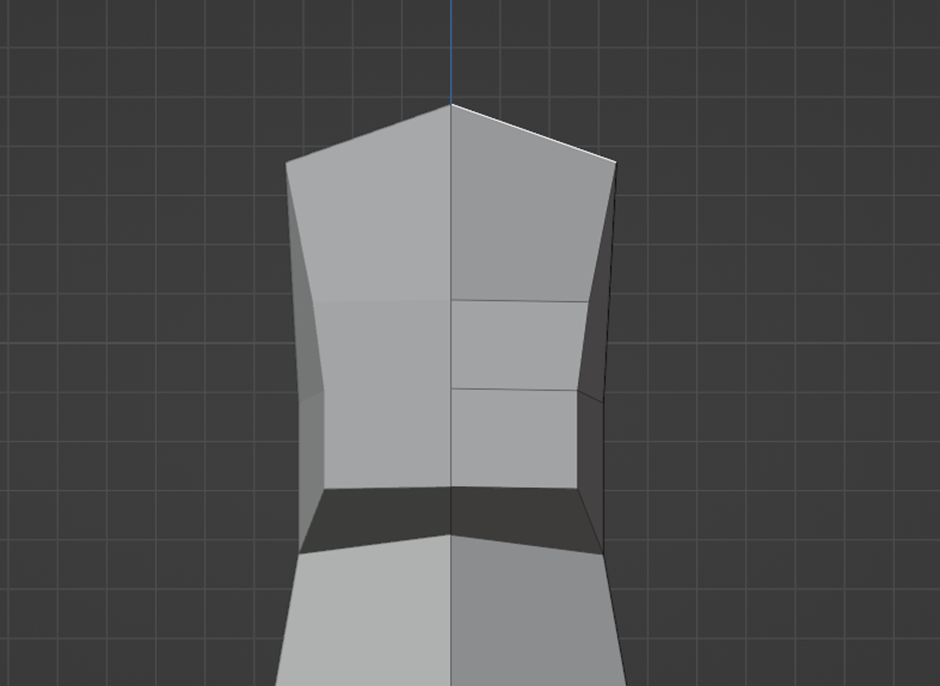
We'll make slight adjustments to the side faces of the head to make it look more natural. We'll add a loop cut to the neck, slightly shrink it, and move it to look more natural.
Now we can experiment with edges and proportions on the face.
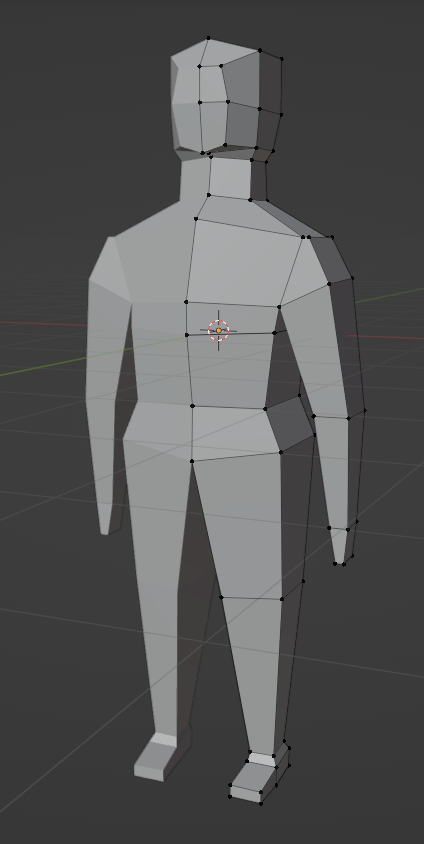
Final result: