Blender - modeling - step by step - simple
In this chapter we will look at simple modeling in Blender.
1. Table
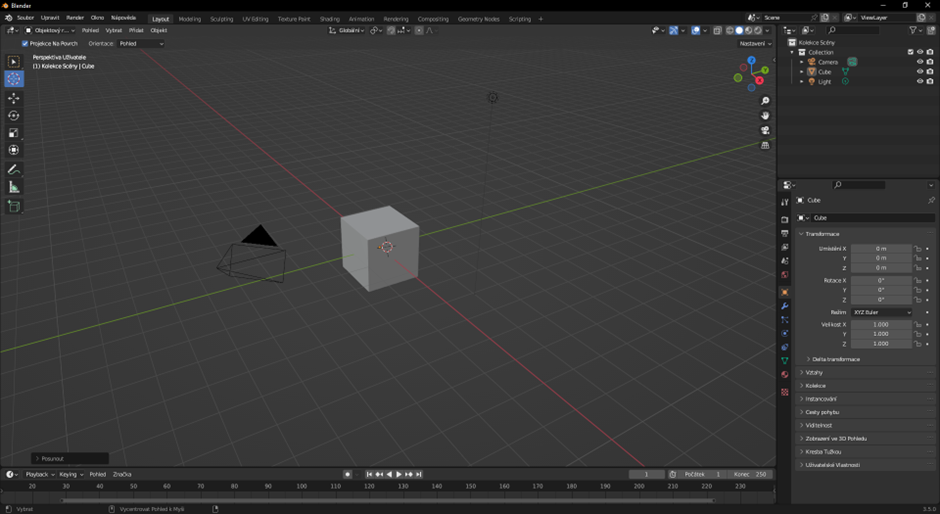
First, let's familiarize ourselves with editing simple objects, which will help us navigate in Blender. Upon opening, we will see the basic scene described in the previous chapter.
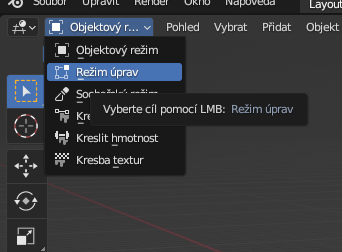
To switch to edit mode, press the "Tab" key. Alternatively, we can also switch using the top bar where the object mode is set. After clicking on the item, we simply choose the editing mode.
We can edit vertices, edges, or entire faces. 
For our table, let's select the bottom face and modify it along the Z-axis (shortcut G+Z).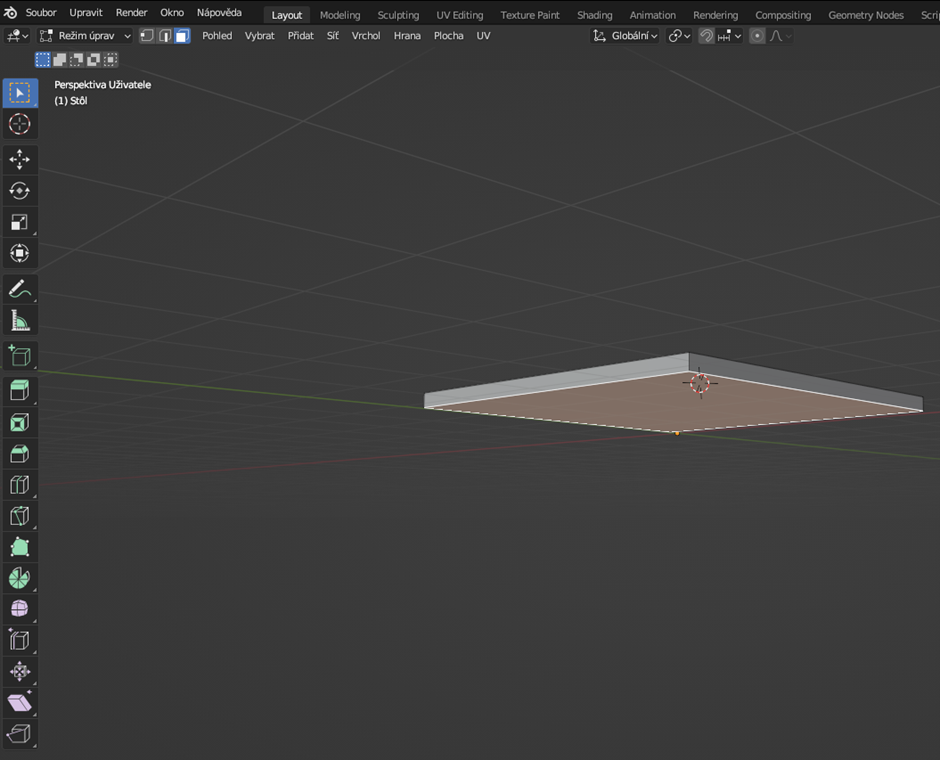
One thing to notice is that there is an orange dot beneath our plane. This dot represents the point around which the object rotates. As it is currently positioned under the object, our plane would rotate around this point.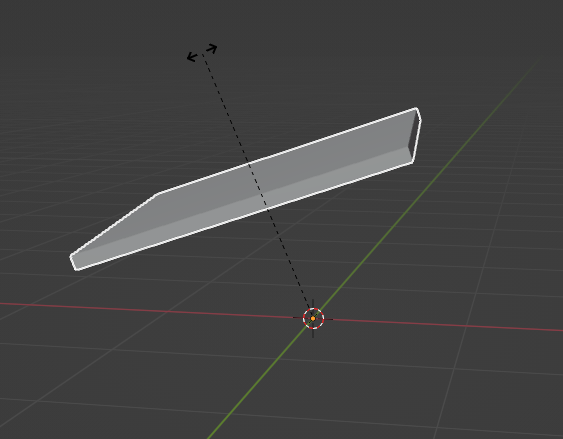
To place the point at the center of our object, we can use the F3 key and then select "Origin to Geometry".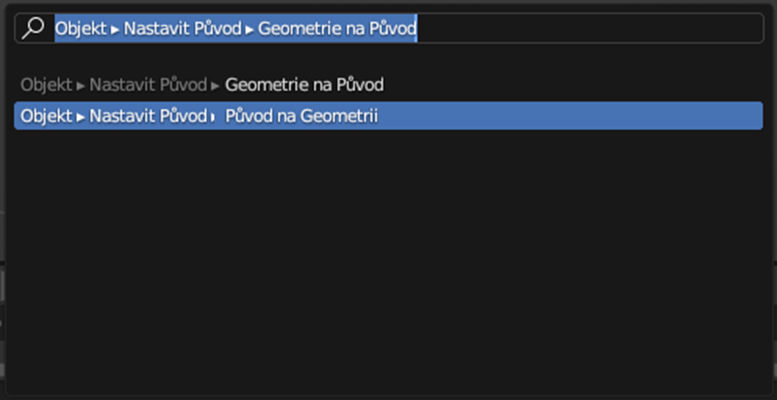
If we try to rotate the object now, we'll see that it rotates around the center of its surface.
As the next step, we'll stretch our surface along the X or Y axis to make the table longer (shortcut S+X/Y).
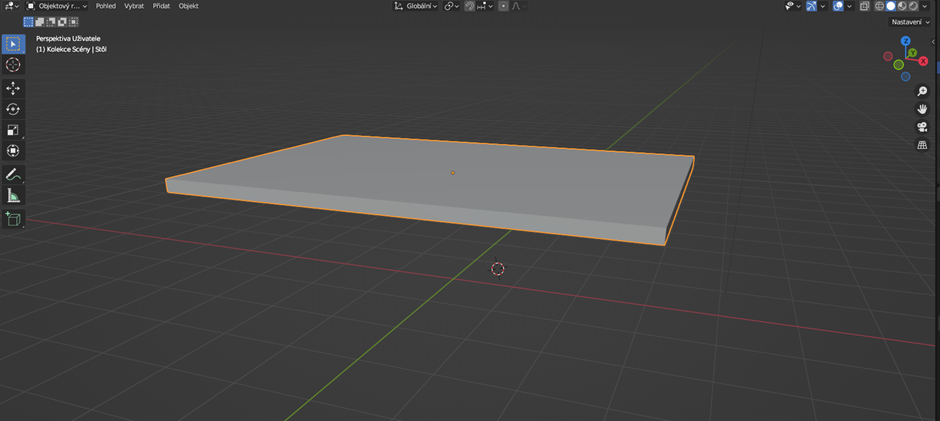
Next, we'll move the surface to the desired height and then proceed to work on the table legs.
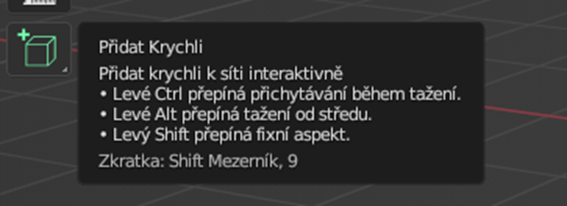
To add a new object, press Shift+A, or click on "Add" and then select "Cube" in the left column of functions.
We'll turn this cube into a table leg. We can use the shortcuts G+X/Y/Z and S+X/Y/Z. We can also enable snapping, which aligns the sides to the grid. This tool can be found at the top center.
Alternatively, we can input the size using the object properties on the right bottom.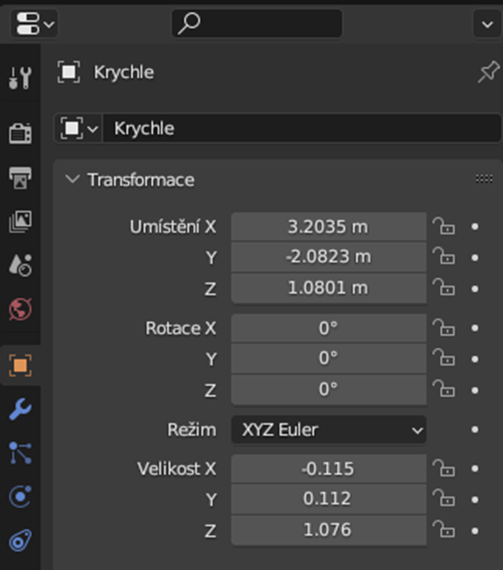
Once we are satisfied with the leg, we'll duplicate it by selecting the entire object and pressing Shift+D.
Subsequently, we'll place the leg at another corner of the table.
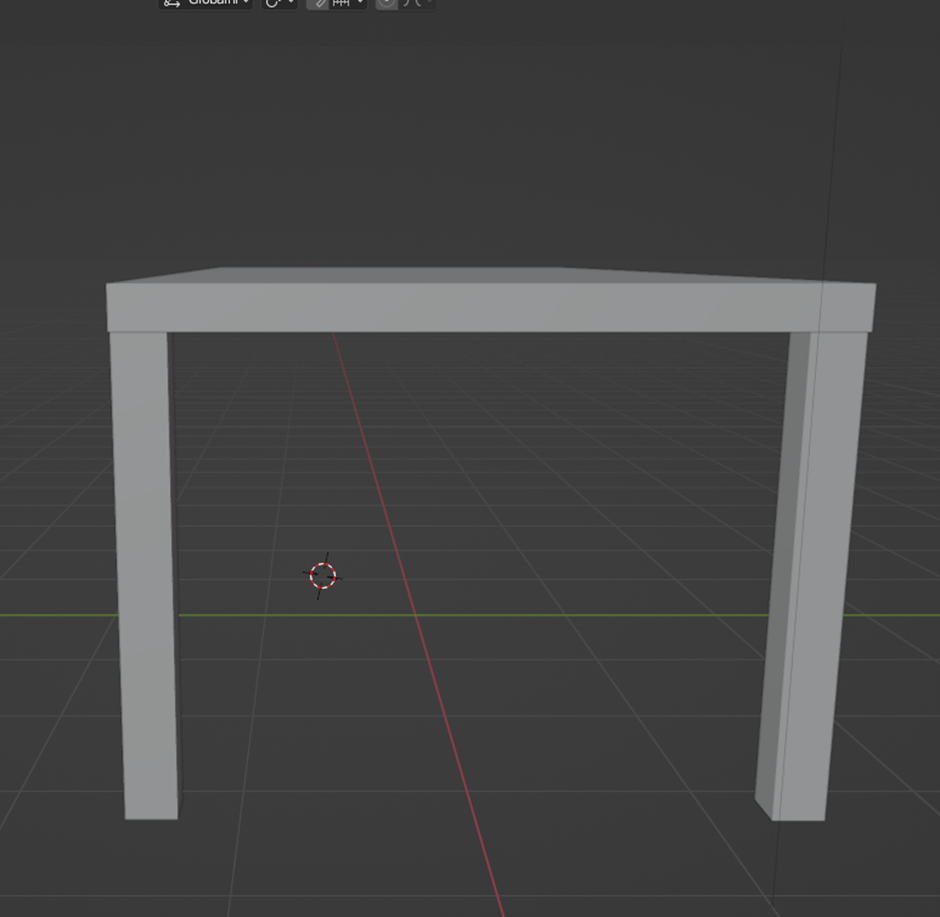
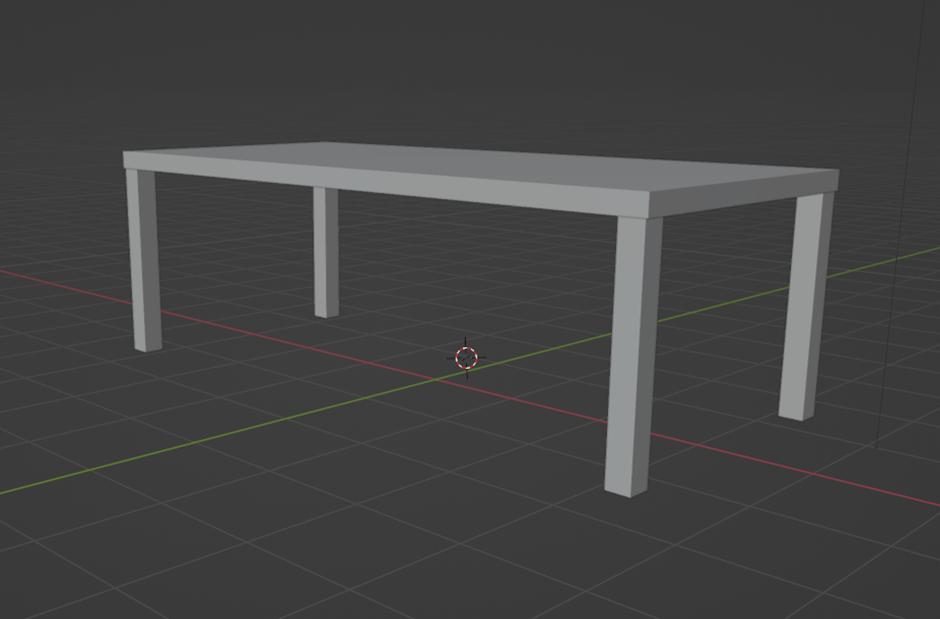
As the final step, we'll simply duplicate the other two legs and place them in their correct positions.