Blender
| Portál: | Virtuálna Univerzita Mateja Bela |
| Kurz: | 3D tlač a 3D modelovanie |
| Kniha: | Blender |
| Vytlačil(a): | Hosťovský používateľ |
| Dátum: | štvrtok, 2 júla 2026, 11:06 |
Opis
Blender is freely available 3D graphic software that allows creating and editing 3D models, animations, visualizations, video effects, and many other things. The program is available for various operating systems, including Windows, Mac, and Linux.
It's used for many different purposes, including creating animated films, architectural visualizations, production models, and much more. The program supports various modeling techniques such as polygonal modeling, sculpting, and spline modeling. Additionally, it provides various tools for texturing, lighting, animation, and effects.
It's also popular among the 3D artist and game developer communities because it's highly flexible and can be customized according to one's needs. Furthermore, there are many additional plugins and scripts that allow extending Blender's functionality even further.
Blender is a community-driven project under the GNU General Public License (GPL), which allows the public to make both small and large code changes, leading to new features, bug fixes, and improved usability. Advanced users can use the Python scripting API for Blender and customize the application accordingly.
Source: About — blender.org
1. Interface
At first glance, Blender might appear very similar to Tinkercad, but it's not quite the same. The workspace might look the same, but for instance, we can't move objects until we select the movement of the chosen object.
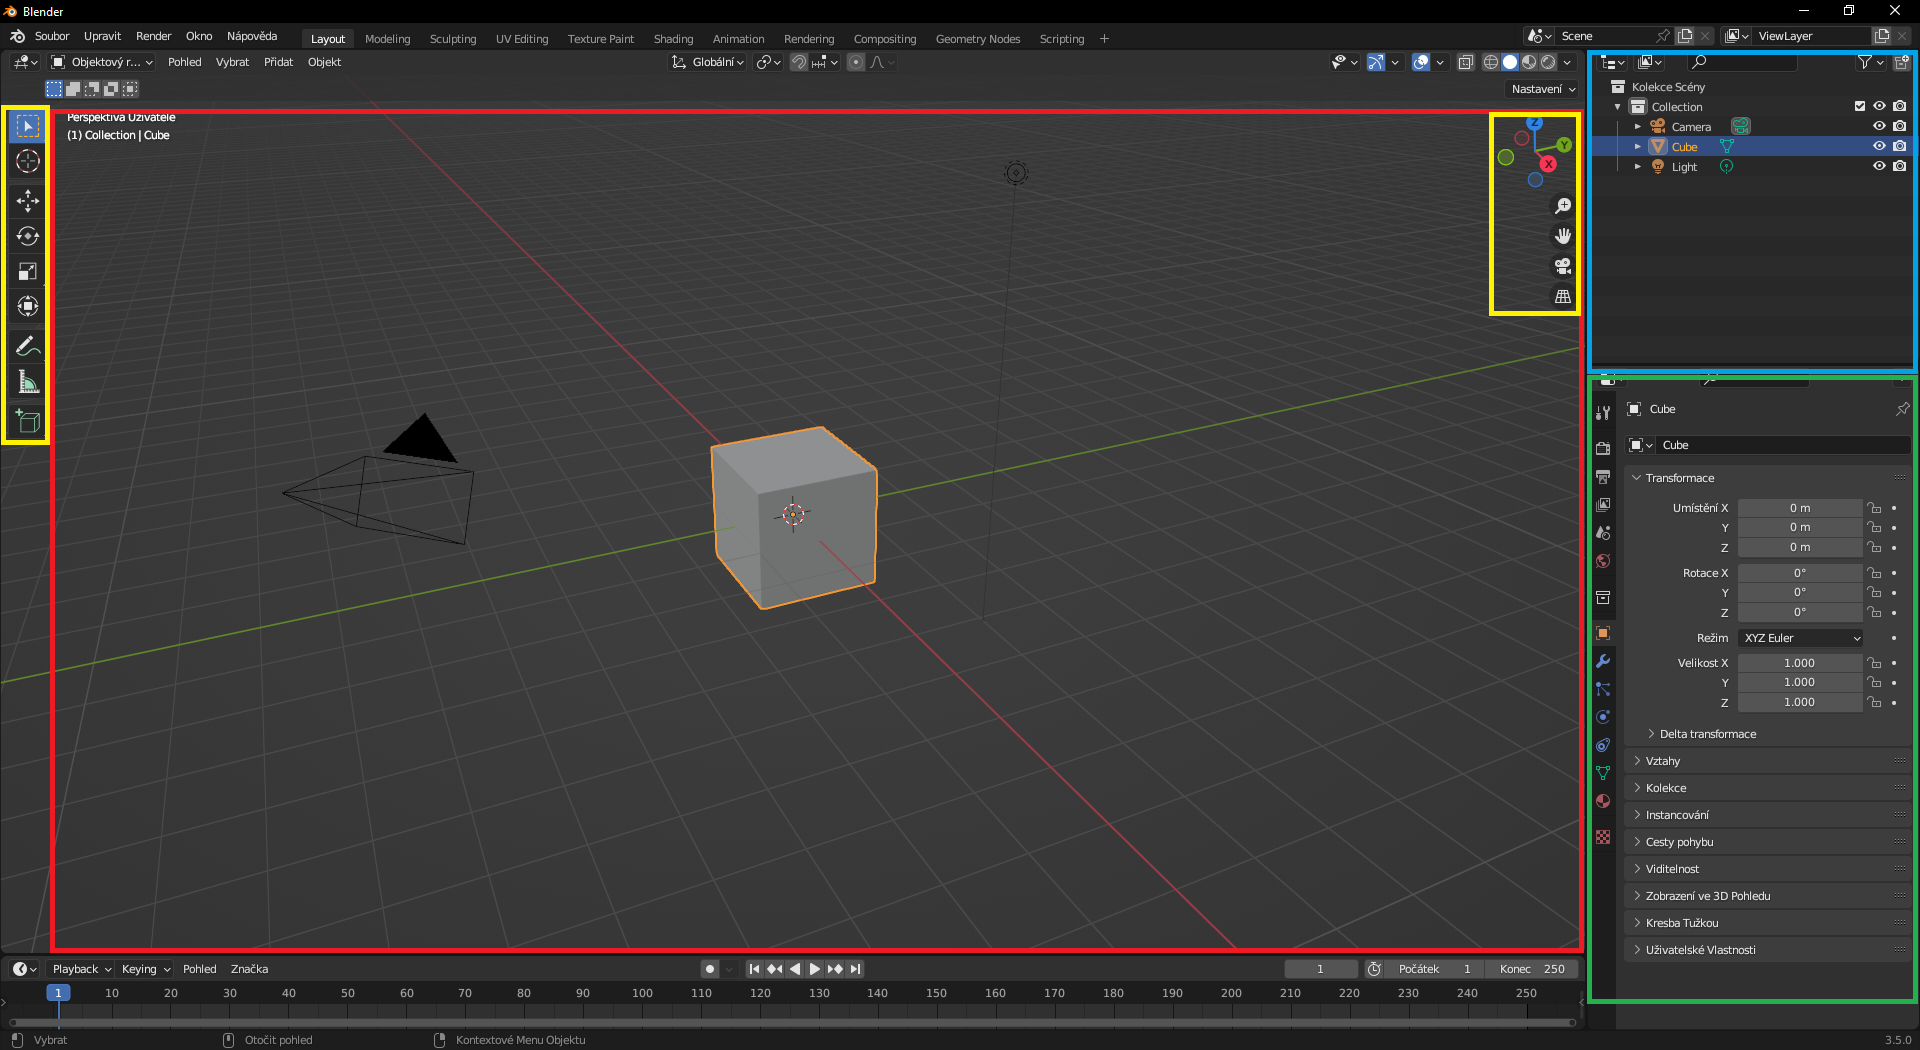
On the left and right, we have our basic functions like movement, rotation, and object size. Using these functions, we can navigate around the scene and its individual axes. Additionally, we find zooming, adjusting our view, switching to the camera view, and toggling between perspective and orthographic projection.
2. Movement
At first glance, movement in Blender might seem almost impossible. However, it's not the case, and navigation through the application occurs after selecting a specific function. For simplicity, it is recommended to learn the most commonly used keyboard shortcuts, which can be found at this link:
Besides movement shortcuts, you can also find other useful keyboard shortcuts for functions.
Object movement:
G - Move the object itself. You can move it along the X, Y, and Z axes (G+X/Y/Z).
R - Rotate the object. You can rotate it along the precise X, Y, or Z axes (R+X/Y/Z).
S - Scale the object, making it larger or smaller. You can scale along the exact X, Y, or Z sides (S+X/Y/Z).
Remember to select the specific object you want to work with.
View movement:
Shift + Middle Mouse Button - View movement.
Pressing the Middle Mouse Button - View rotation.
Ctrl + Pressing the Middle Mouse Button - Zoom in and out.
Num1 - Front view.
Num3 - Side view.
Num7 - Top view.
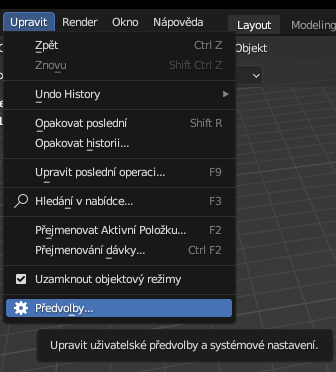
You can customize all shortcuts if they don't suit you by going to the main menu - Edit -> Preferences -> Keymap.