Tinkercad
| Portál: | Virtuálna Univerzita Mateja Bela |
| Kurz: | 3D tlač a 3D modelovanie |
| Kniha: | Tinkercad |
| Vytlačil(a): | Hosťovský používateľ |
| Dátum: | štvrtok, 2 júla 2026, 12:24 |
Opis
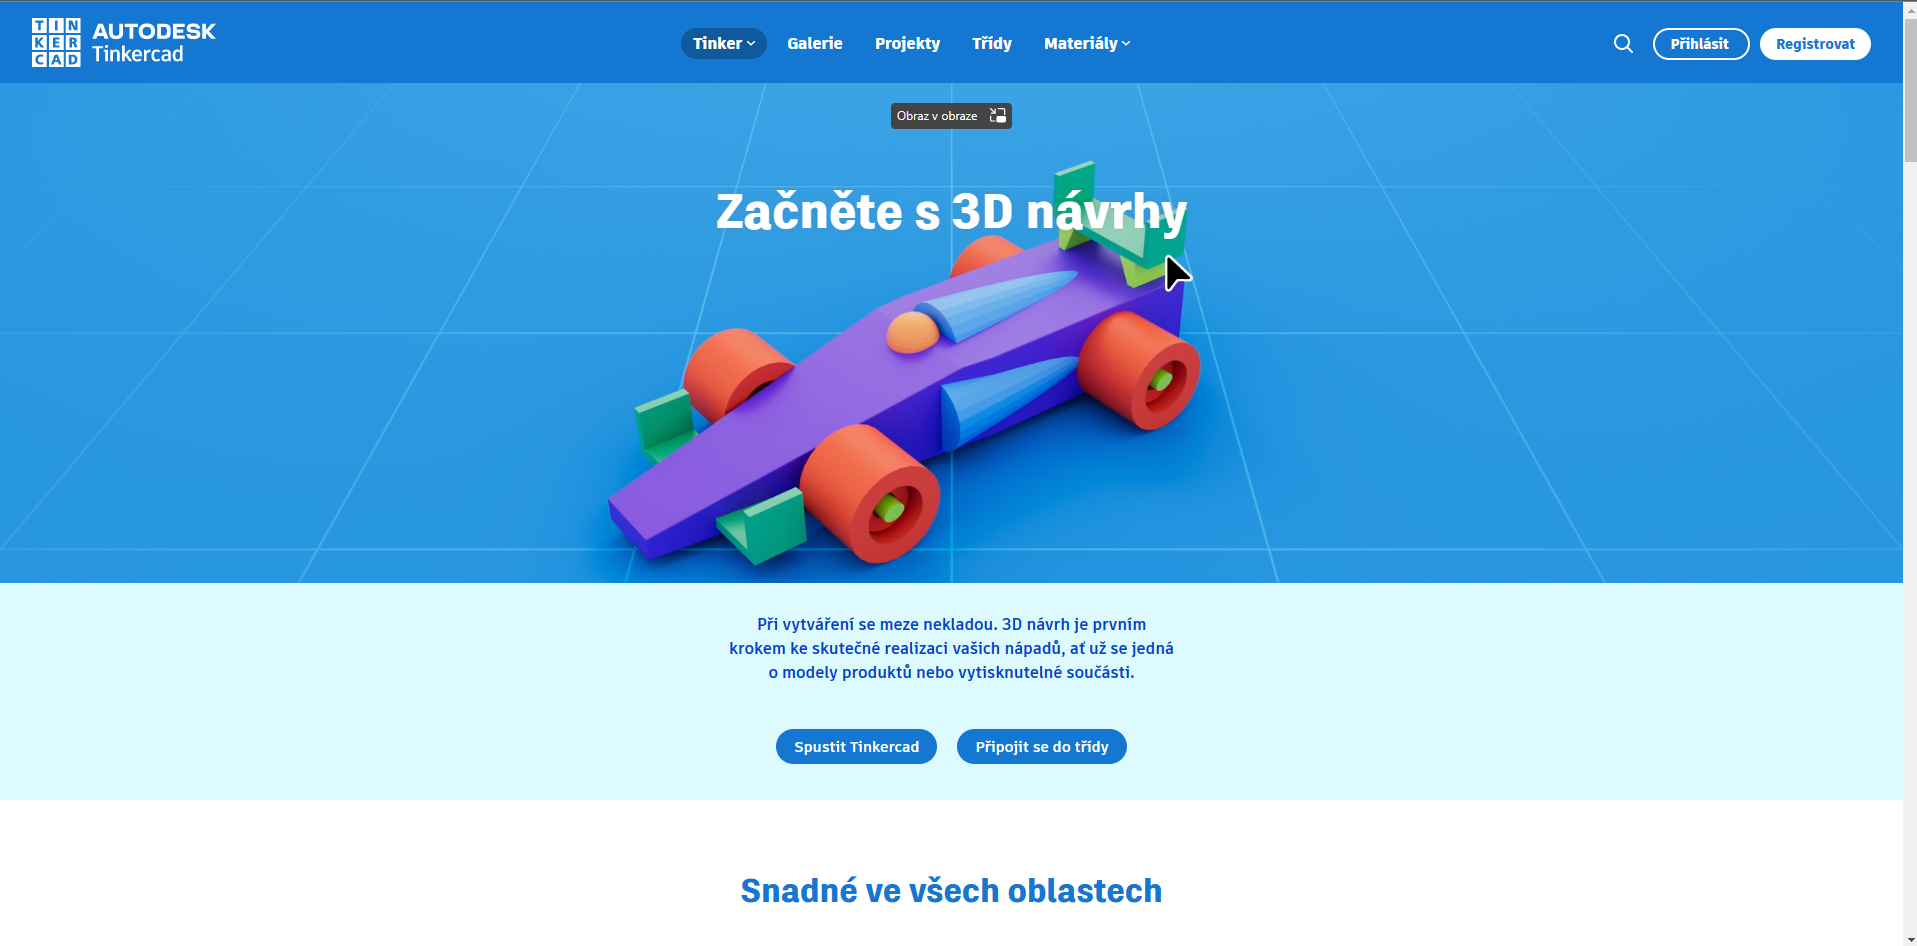
Tinkercad is a collection of software tools from Autodesk, designed for complete beginners to create 3D models.
The software is based on constructive solid geometry (CSG), which allows users to create models by combining simpler objects.
Tinkercad is fully accessible through a web browser, thus requiring only an internet connection. The models are compatible with 3D printing, making it an excellent choice for those starting in this field. Its user-friendly interface is also very pleasant for teachers, children, and design enthusiasts.
Source: Tinkercad: The Online Software to Start 3D Modeling - 3Dnatives
Interface
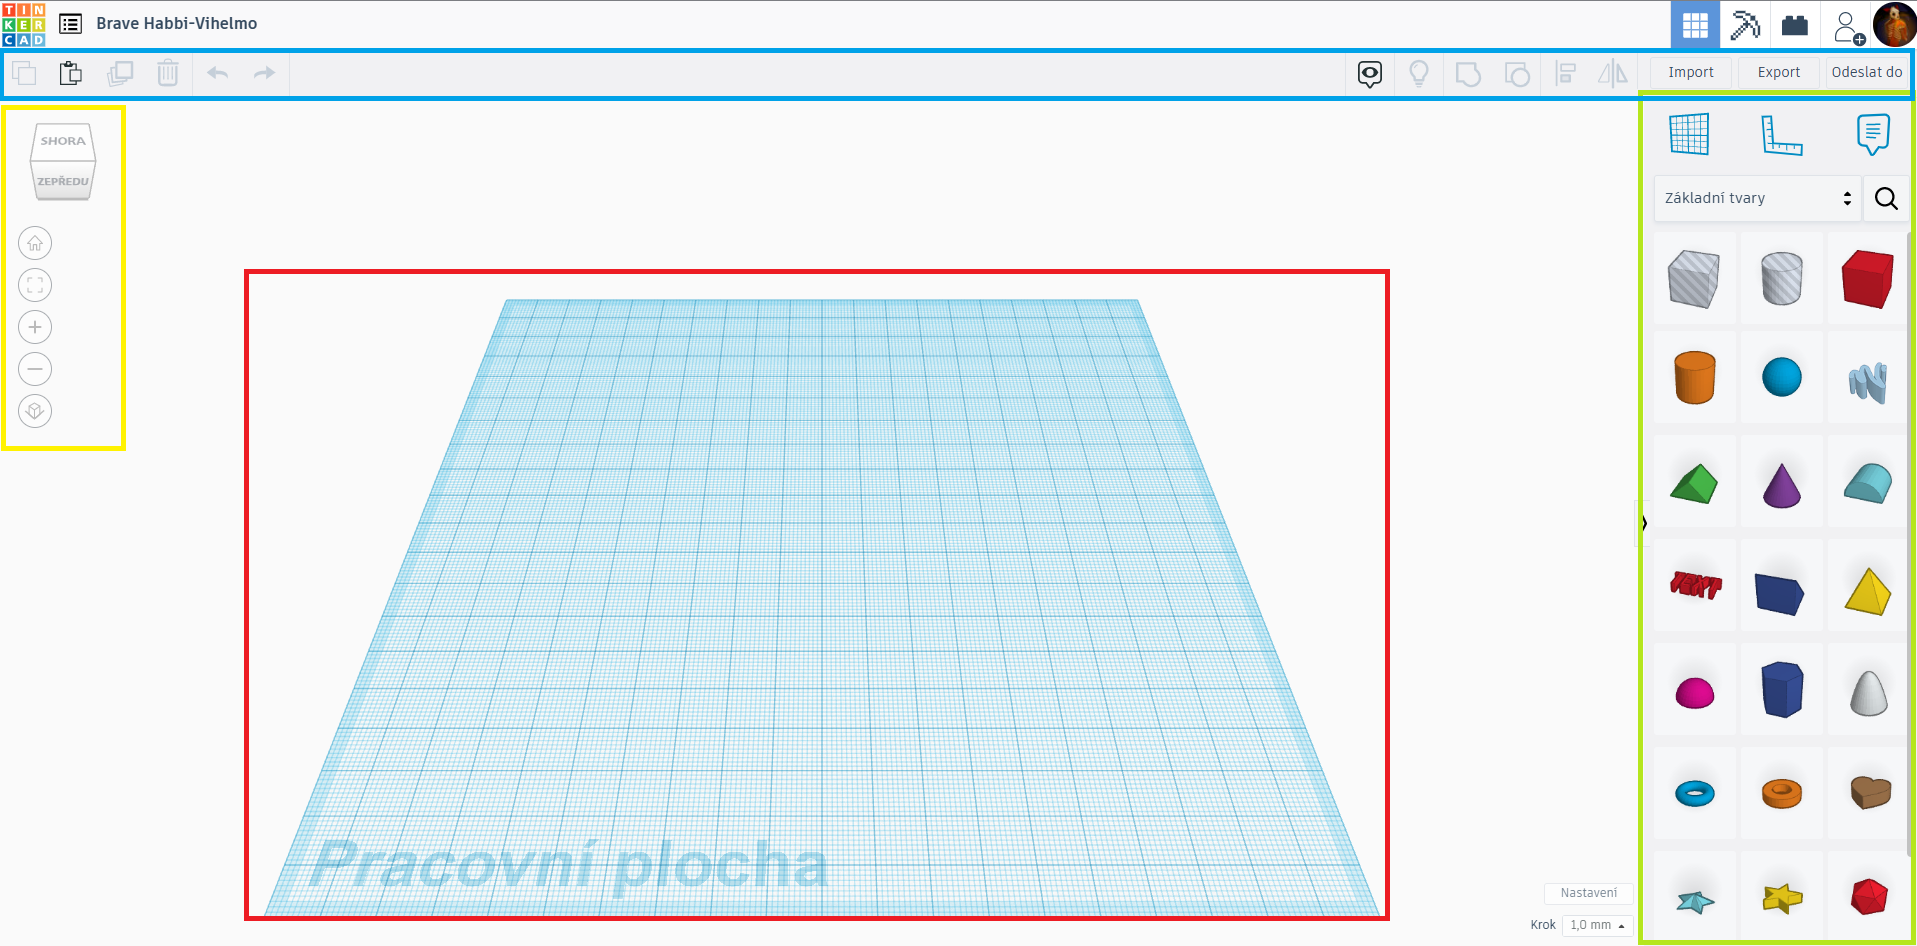
The Tinkercad environment is very intuitive.
It's crucial to create an account. Without it, Tinkercad won't be fully accessible. After creating or logging in, however, we can start modeling and use models from others (provided these files are set to public). We can also share our created models with others.
When clicking on the "new" icon, three options will open up.
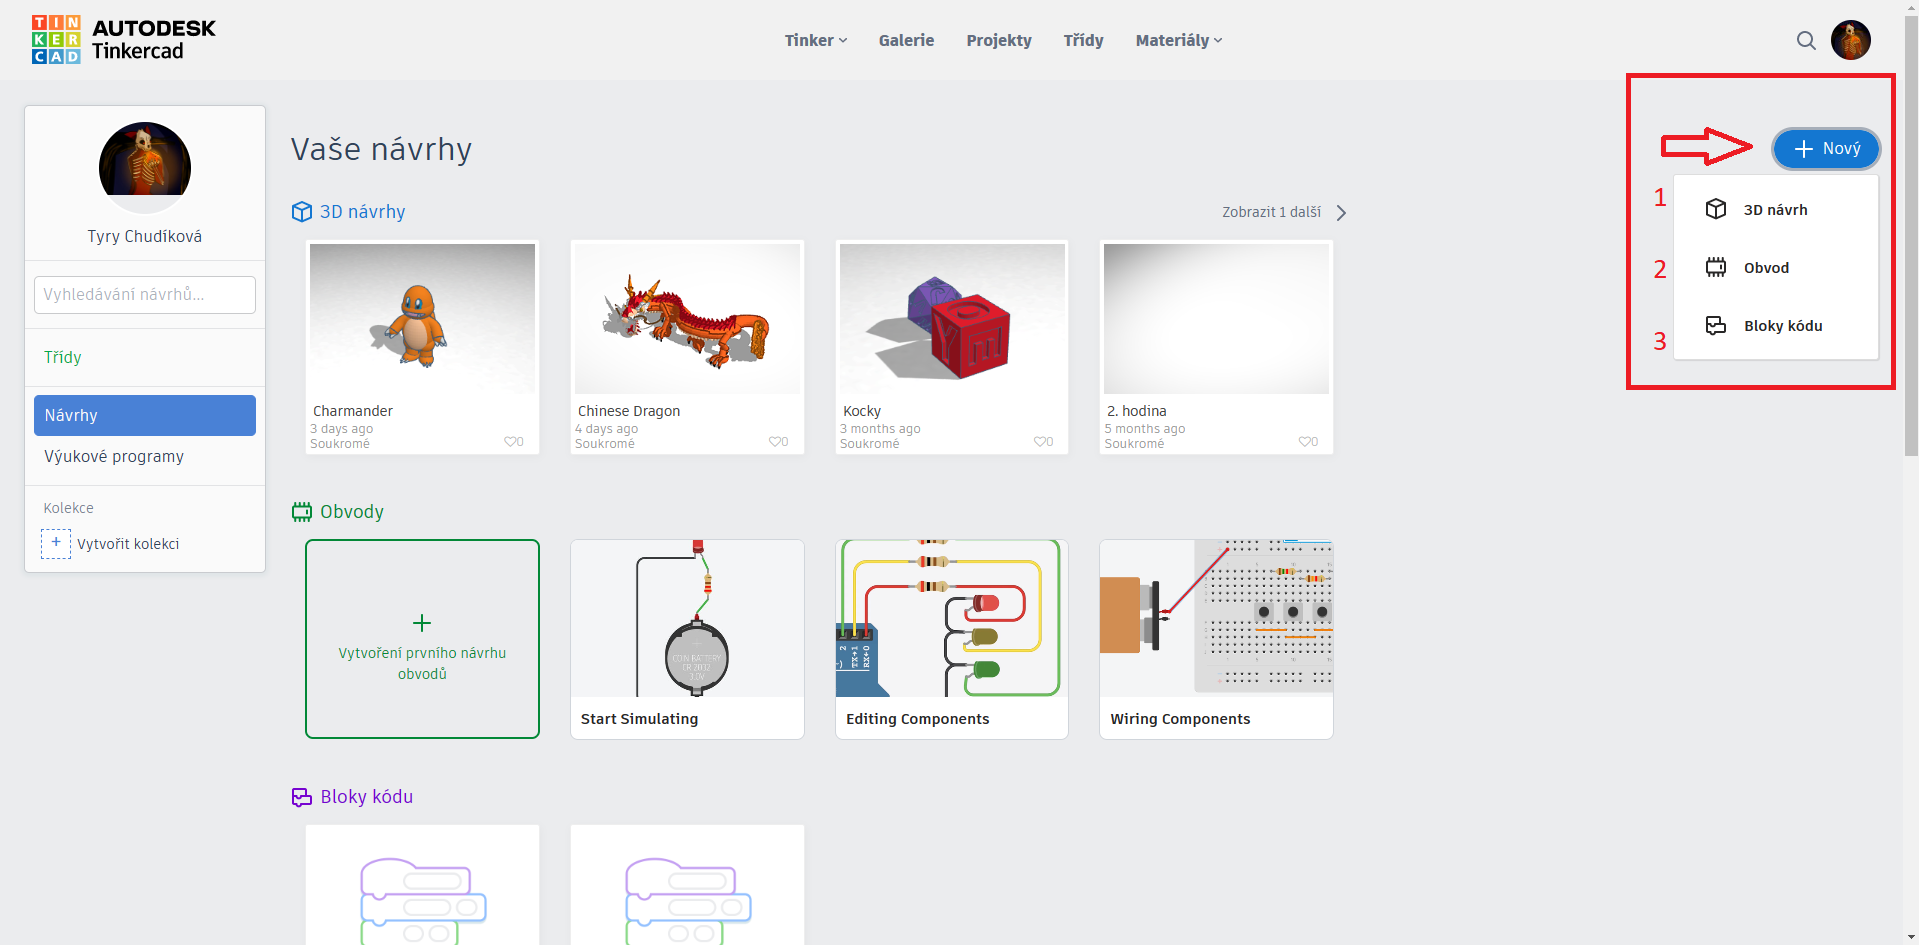
3D design
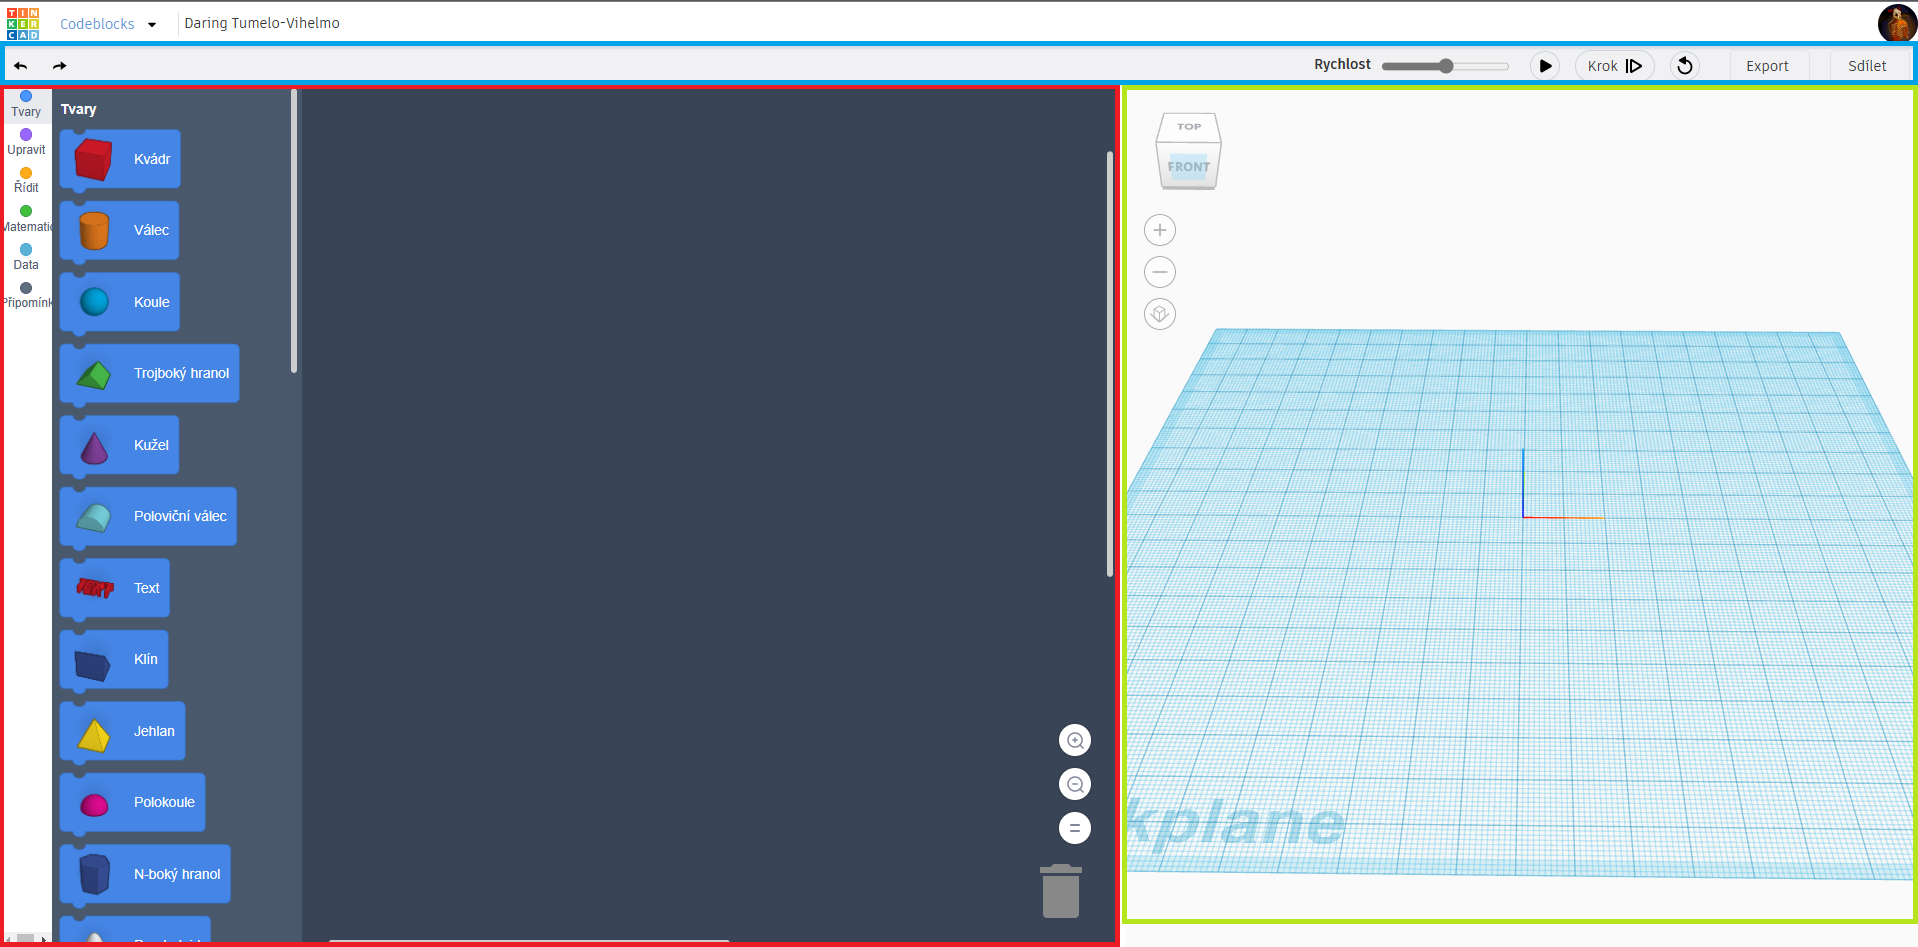
Block-based modeling
Block-based modeling is very similar to block-based programming, like Scratch. We model using commands that are then visually represented on the canvas, forming the overall object.
Tutorial: Naučte se: Codeblocks | Tinkercad
Functions
Tinkercad provides several functions that make modeling easier. We discussed where to find these functions in the 3D Design chapter.
Copying Function (Ctrl+C):
 As the name suggests, this basic function is used to copy a selected object or objects.
Paste Function (Ctrl+V):
 This function pastes the copied object onto the Tinkercad canvas. The object/s will appear near the copied object.
Duplication Function (Ctrl+D):
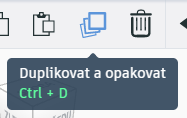 Automatically duplicates and places the selected object/s. The duplicate will be in the same position as the original object, so it will not be visible until we move it.
Deletion Function (Delete):
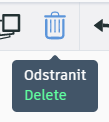 Deletes the selected object/s.
Undo Function (Ctrl+Z):
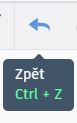 This function takes us one step back. It can be used multiple times in succession.
Redo Function (Ctrl+Y):
 If we've used the undo function more than we intended, the redo function takes you one step forward again.
Hide Notes Function (Shift+N):
 If we're using notes, this function hides them from the modeling area.
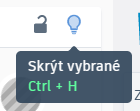 Provides the option to hide objects from the modeling area.
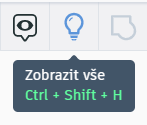 Reveals all hidden objects on the modeling area again.
 Groups two or more objects into one.
 "Breaks" a grouped object into individual objects.
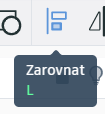 Aligns two or more selected objects along a specified axis.
 Allows you to mirror objects along the X, Y, or Z axis.
 After using this function, the selected object/s are locked, and further modifications or movements are not possible.